
Bag Making Tools

Some of these tools are essential, others are incredibly useful. Remember that to get started with bag making, you don’t need everything, and some tools are brilliant for some people, and others don’t find them helpful at all.
This post aims to give you an overview of the tools that I find useful, and hopefully help you to up your bag making game too.

Let’s start with the basics, cutting tools. If you’ve sewn before, you will almost certainly have a pair of fabric scissors. You may also have a rotary cutter. Whilst you can absolutely use either, I think that rotary cutter is easier for bag making. More so that with dressmaking, you’ll be wanting to cut measured shapes rather than cut around pattern piece. This is where a rotary cutter (along with a self-healing mat and quilting ruler) comes into its own.
Also useful, is a pair of thread snips (for cutting loose threads as you sew), pinking shears (really useful for trimming the seam allowance of a curved section), and paper scissors. Remember, try to avoid using your fabric scissors with paper because it will dull the blade. Over time, this can lead to not producing a clean cut on your fabric, which can make sewing more difficult too. I like to mark my fabric scissors with a small loop of scrap fabric which is sewn onto one of the handles. This always makes them stand out immediately, and reminds me they’re only to be used on fabric!

Linked to your cutting tools are hole making tools. These will help you when inserting snaps, magnetic clasps, eyelets,… You can use an awl to create a small hole in your fabric, and then insert the hardware you’re using. Or you might choose to use a pair of revolving punch pliers which offers you a variety of hole size options. More recently, Prym have released a new Creative Tool which is designed to be even easier to punch holes and then insert hardware securely.
Talking of hardware, the Creative Tool is a great addition to your sewing kit, and is designed to work with minimal pressure needed to create the holes or insert hardware such as non-sew fasteners or eyelets. However, if you’re looking for something more budget friendly, you could look at the Vario Pliers, or even look in your DIY tool box for a hammer, which you can use alongside the setting tool provided in some hardware packets. Just be careful that you don’t damage your work table with a misplaced hammer blow!
Another great tool to have available is a small set of screwdrivers, the sort you might use to work on electrical items, or other small parts. These can be essential for fitting some tyles of hardware, for example some turn locks are screwed through the fabric rather than bending back clips. As both types of turn locks are available, make sure to check the fitting before you buy. Personally, I find the screw in type to have a neater, and stronger finish. But I also like the ease of using those with bend back clips.
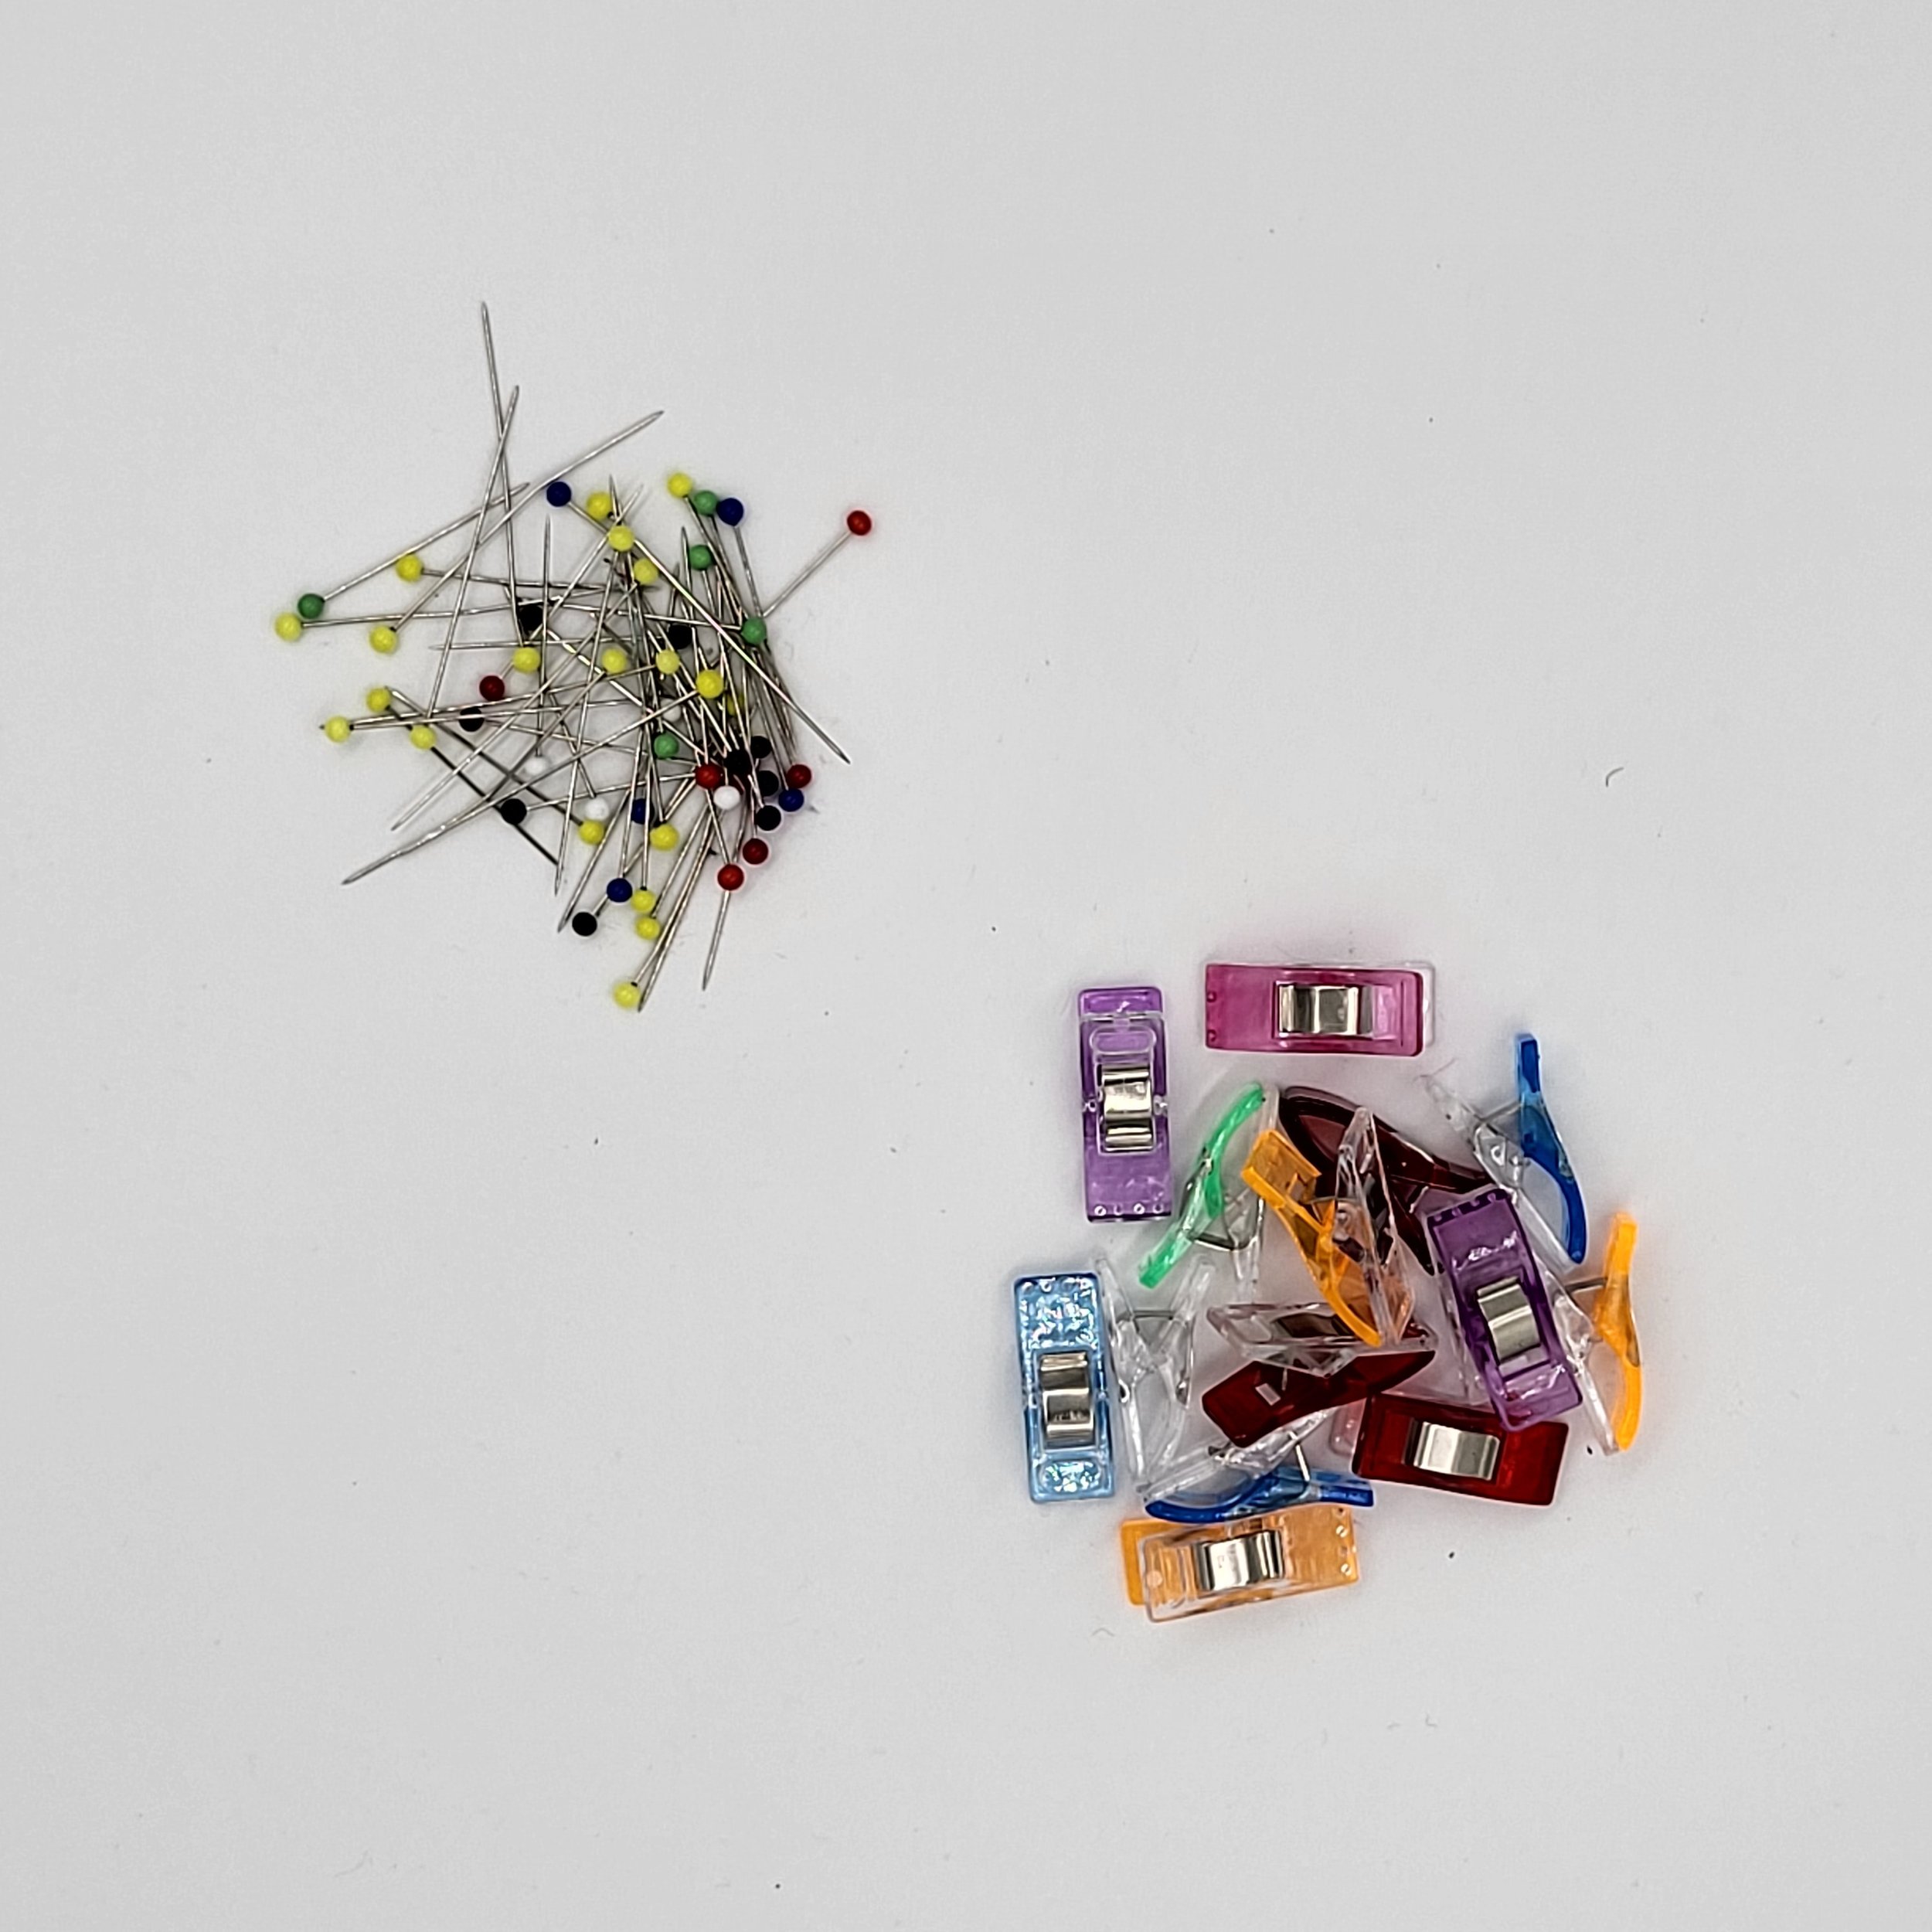
What about pins or clips. There is certainly a preference here, when it comes to a lot of dressmaking projects, but what about bag making? Well, some fabrics just aren’t made for pins. For example, our faux leather and vinyl ranges. If you put a pin through these, that hole will be left visible. It won’t disappear like it would with a cotton canvas, or other woven fabrics, for example. Here, the best thing to use is a quilting clip. These are small enough to mimic precise pinning, but they don’t make a hole in the fabric. These are also a great option for thicker areas of the project. For example, if you are using Style-Vil foam as a stabiliser, you’ll find the fabric becomes too thick to use pins. Having both in your arsenal is a good idea. Both have their place.
I’m maybe approaching this list a little back to front, but bear with me. Everything will get a mention!
I mentioned measuring at the beginning of this post, and I’m coming back to that thought now. Measuring tools come in a few different guises too. You’ll always do well with a good old tape measure. There’s no denying the importance of measuring, and this is true in bag making as much as it is in any other sewing craft. But, if the pattern you’re using asks you to cut a rectangle with the dimensions 4 inches x 6 inches, if you use a tape measure alone, you’re at risk of not cutting a piece that is exactly rectangular. The best way to manage this is with a quilting ruler. These are available in both imperial measures and metric measures, so you’ll be able to find one that suits your preference. However, it’s worth nothing that a lot of bag making patterns are written with imperial measurements, and we all know that metric and imperial don’t mix well. So whichever you pick, stick with it!

Quilting rulers come in a variety of shapes and sizes, and you may find you can get acrylic templates for different shapes too. Quilting rulers are also marked with different degree markings across the middle, so if you need to trim something at a 45˚ angle for example, the markings are right there ready to go.
Another very useful measuring tool is a seam gauge. There are a couple of difference version of these, but I particularly like the Prym seam gauge which has different cut our sections to easily check seam allowances or other small measurements as you go. Again, so keep in mind whether you’re using metric or imperial measurements and keep to the same throughout your project.
Okay, we’ve talked about measuring, cutting, and inserting hardware. What about sewing. You can make bags either with a regular sewing machine, or you might like to hand sew. That choice is up to you. I think most people these days use a sewing machine for the shear ease of use. You won’t need a serger to make bags, as all raw edges will be enclosed one way or another. Be it with a lining or by binding the seam allowance.
Checking your seam allowance and maintaining it is very important. With bag making there are aften lots of pieces to fit together, if your seam allowance varies, then you’ll struggle to get all the piece to fit nicely.
Once you have sewn your seam, pressing is very important. You can use a regular iron for this job, or you might have a small craft iron. The seams are small, so you can get away with a small iron for a more focussed job. If you don’t want to keep moving from your sewing area to your pressing area, you might also find a seam roller does a good job of pressing open seams where needed. Whatever method you choose to use, don’t skip this part of the pattern instructions. It really does make a difference to the finished item.
Whilst we’re talking about pressing, it is only right to mention interfacing, interlining, and wadding. This is a whole other post for another day, but make sure you’re using the right type for the project at hand. They can wildly change the texture/handle of your finished bag. You might decide to try the same project with different interfacing one day – you’ll be able to spot the variation between them really easily! You will find our range of interfacings, interlinings and waddings here.
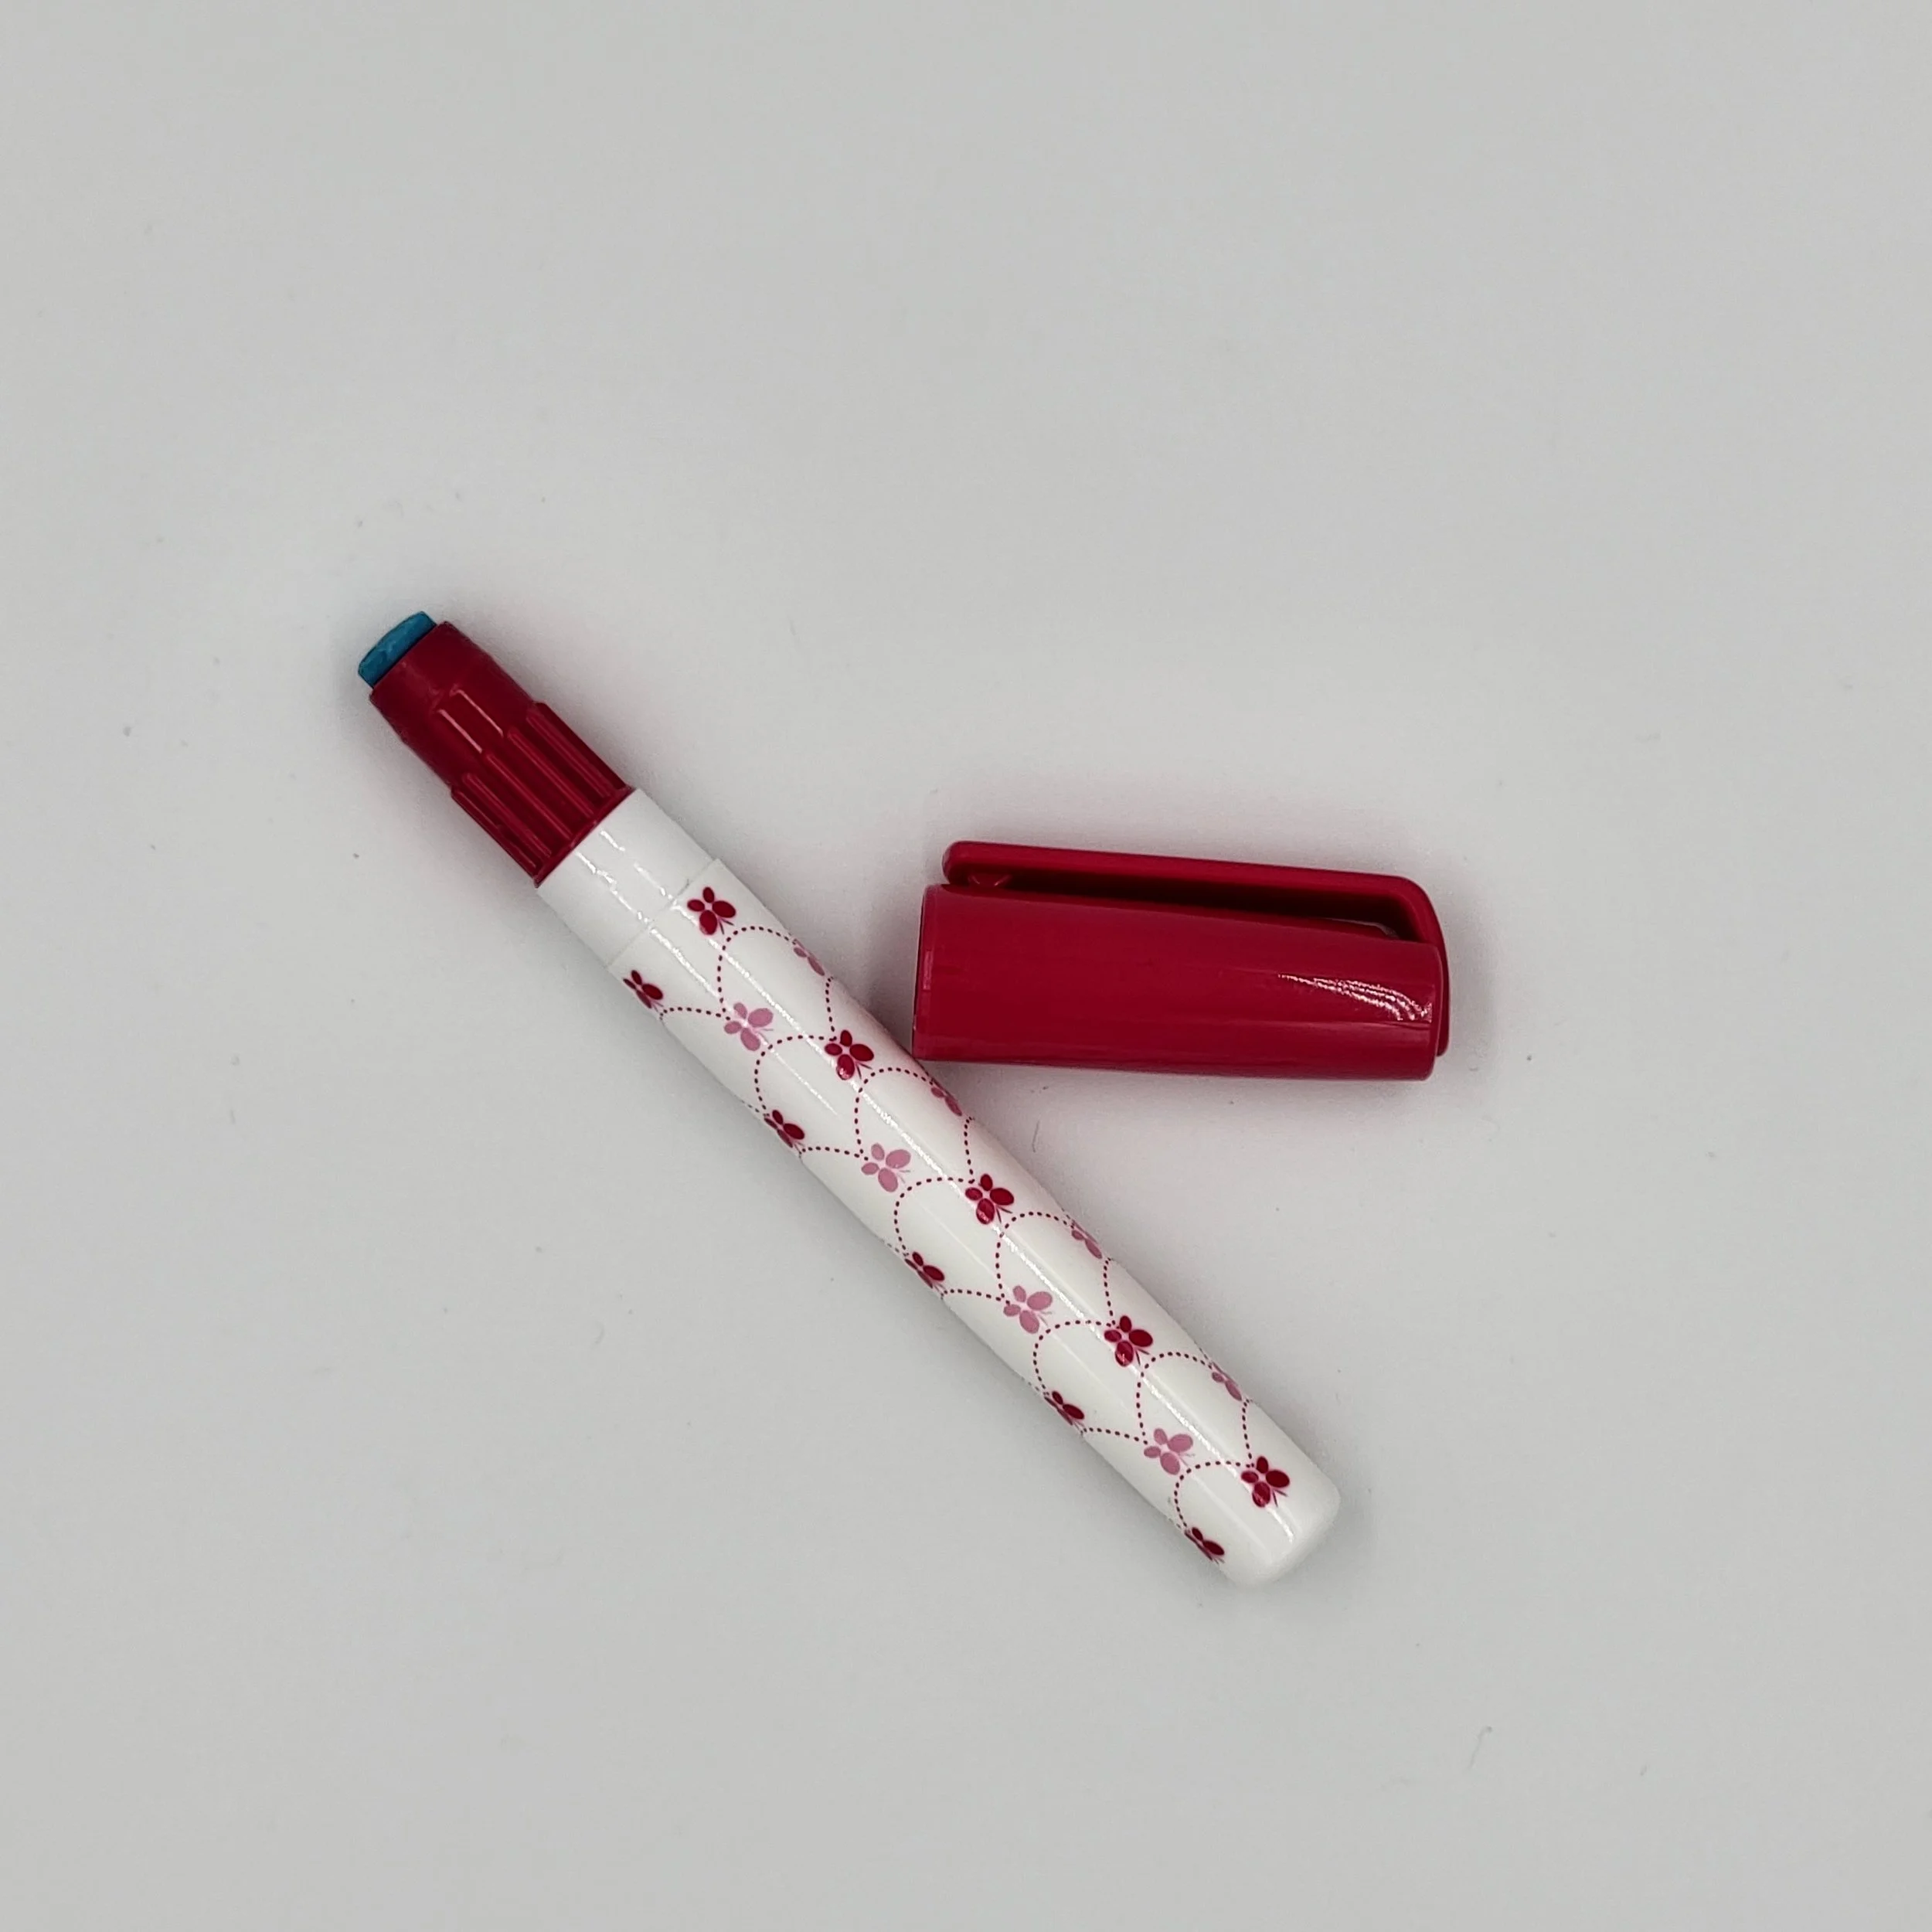
When you’re sewing in a zip pocket, or stitching a seam which is hard to get to, you might find double sided craft tape incredibly helpful. This will allow you to temporarily glue baste the zip in place at the back of the fabric, ready to stitch from the top. This is perfectly safe for your sewing machine to sew through. You might also opt for washable glue. This is often available in a pen form, with a wide glue nib. This makes is really easy to draw the glue onto the fabric/zip and hold it together whilst you sew. This type of glue will often go on a bright colour, and then dry clear. Both of these options are great for slip pockets, especially those with a centre stitch line to turn one slip pocket into two spaces. Of course, you often see people using good old fashioned school glue for these tasks too. Just don’t use too much of it, and make sure it has dried before you try to sew over it. You don’t want that gumming up your machine!
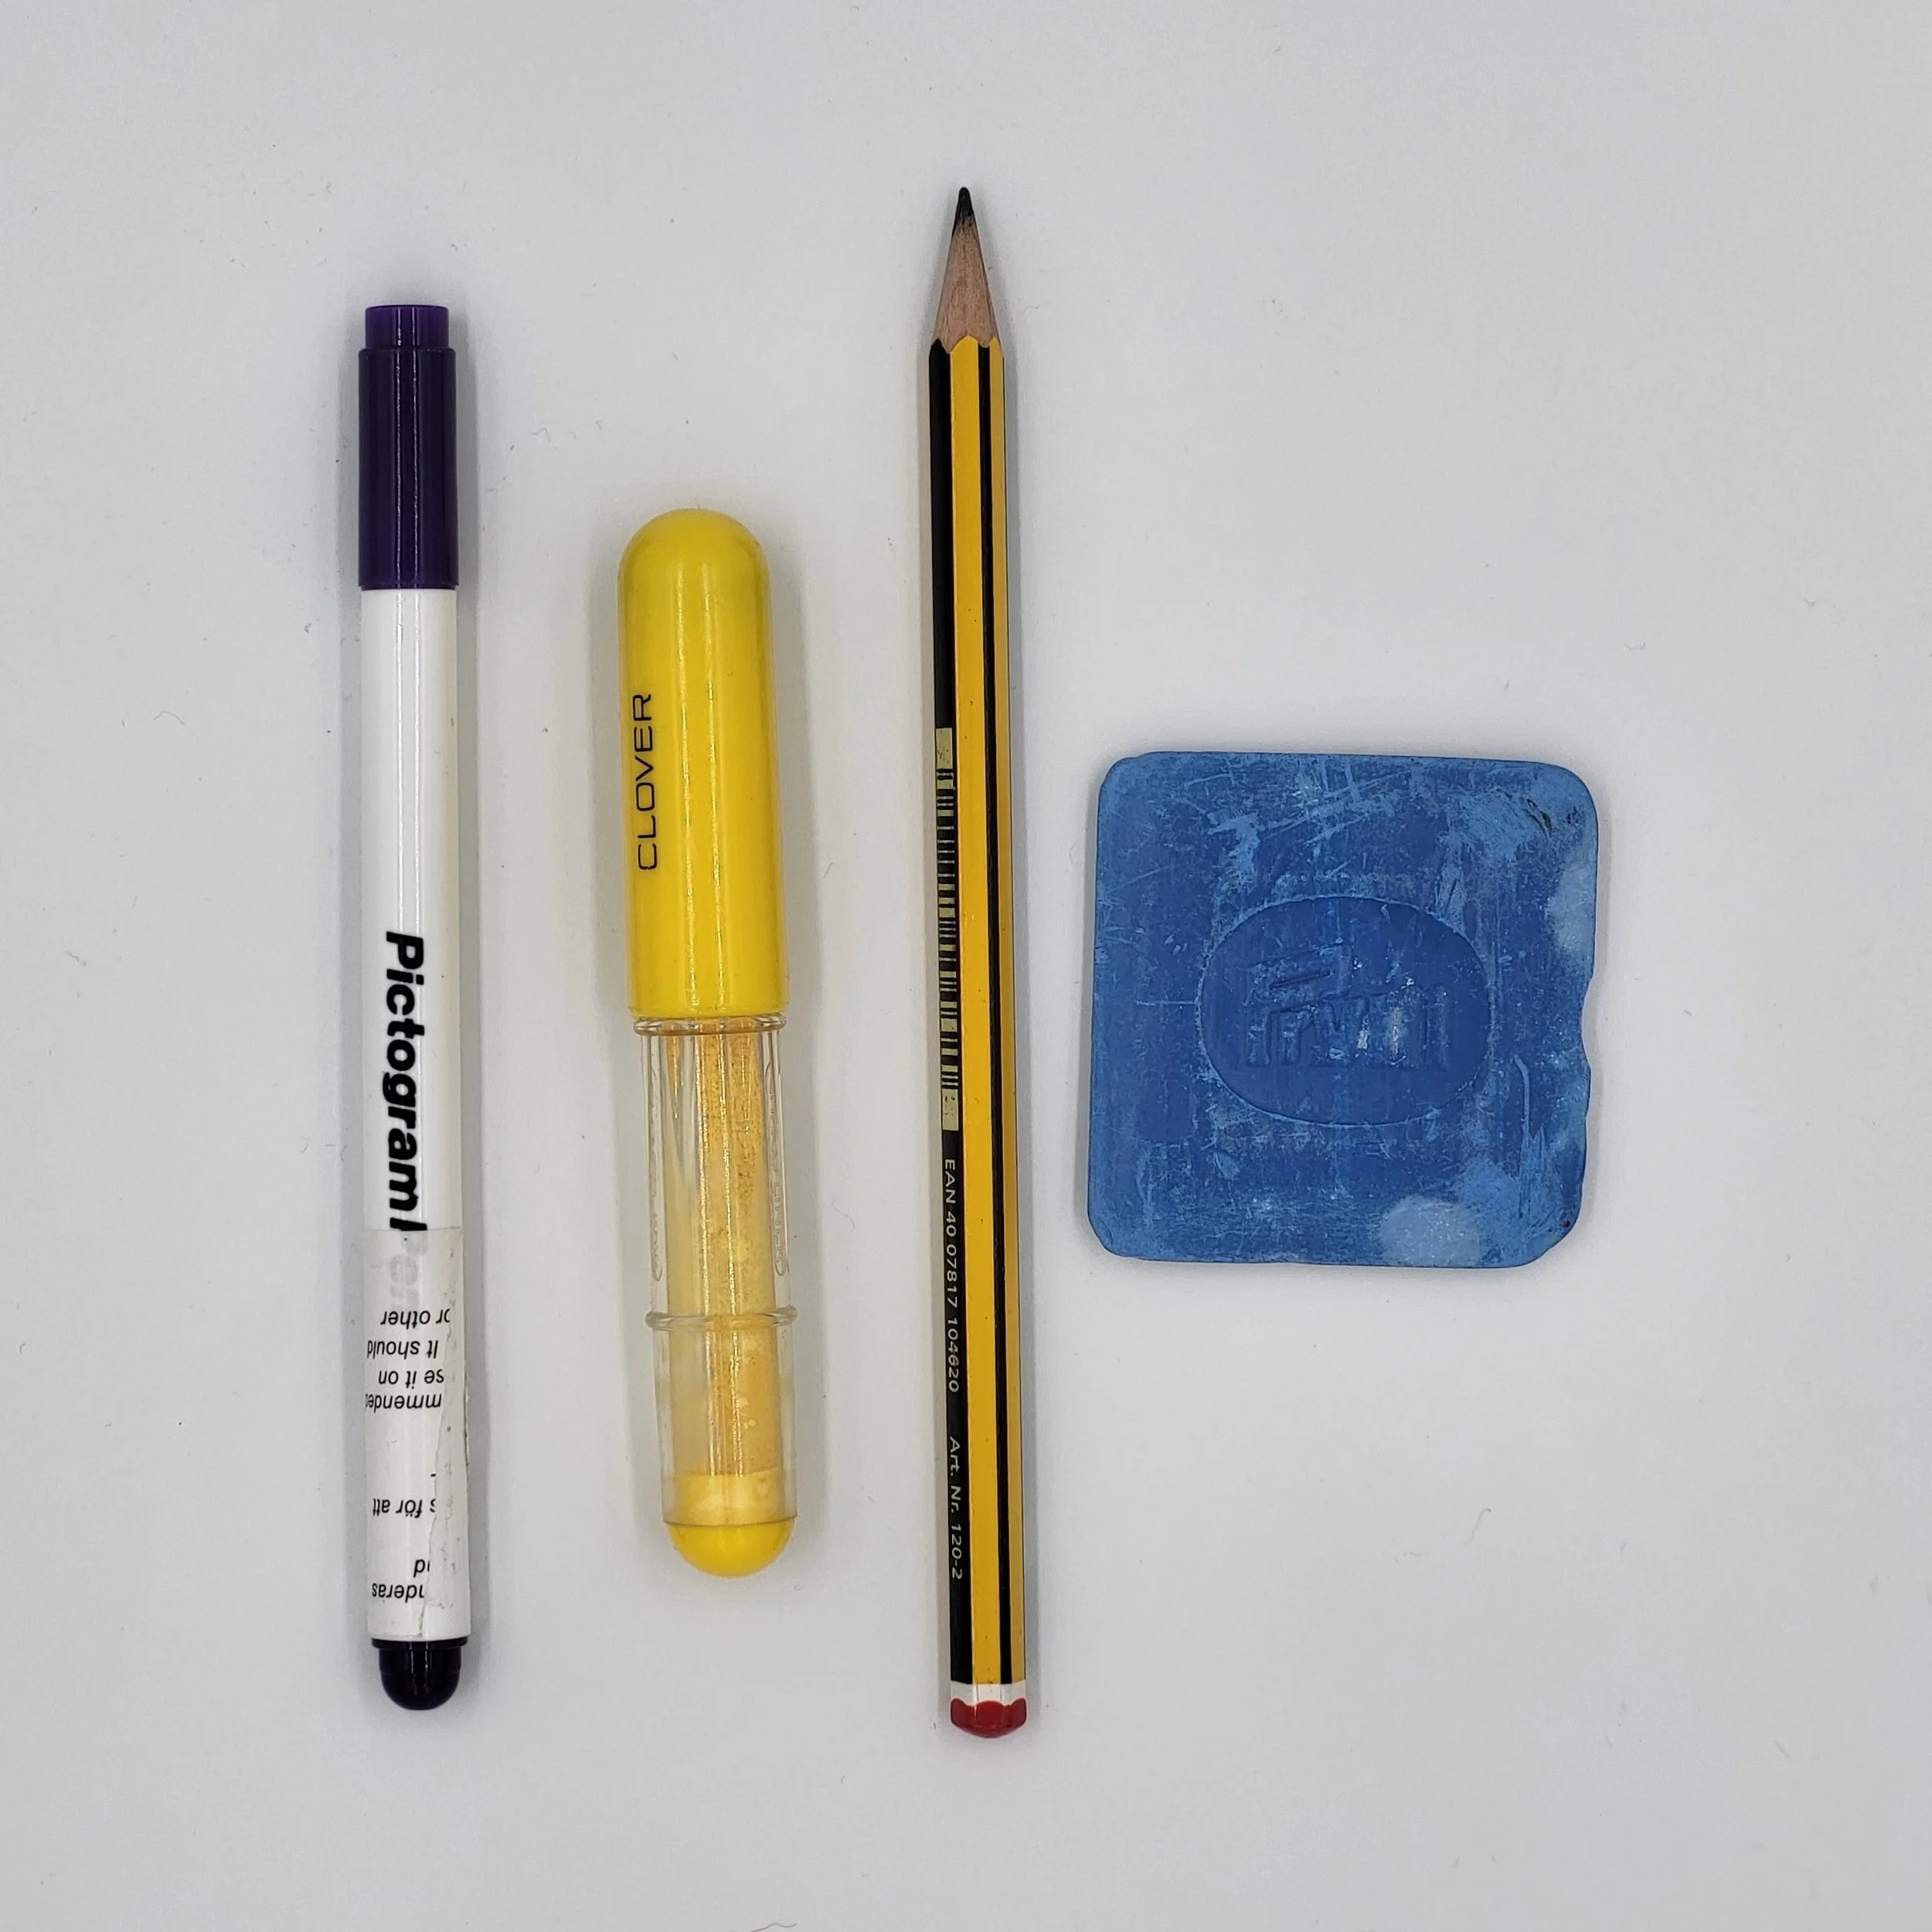
The final tools I’m going to talk about today are marking tools. These come in all sorts of shapes and sizes, and with most things people have their own preferences. You could be using tailors chalk, or a chalk pencil. There are also washable pens, or pens which disappear with heat or friction. The best thing to help you decide what’s right for you is to try the marking tool on a scrap of fabric first. Sometimes, chalk can get into the grain of the fabric and not disappear. Sometimes the disappearing pen you use might become visible again if the fabric gets hot or cold. Where you can, keep marks to the wrong side of the fabric, or within the seam allowance, but where they need to be on the main project, just make sure you’re happy they won’t mark the fabric permanently.
I hope you’ve found this a useful way to start the blog here on Tuesday’s Child Fabrics. I’ll end as I began, by reminding you that there are some tools you absolutely need to be able to complete a project, and there are others which are very helpful and can make your bag making experience run more smoothly, but they are certainly not essential.
If you know of other essential or useful tools which I’ve not covered here, I’d love to hear from you.
For now, I wish you all happy bag making!