
Continuous Bias Binding
Bias binding is an essential part of many bag making projects. Knowing how to make your own with matching fabric is a good skill, and one you’ll use time and again.
There are a few different tools you can use to make the task easier and quicker, but essentially all you need is a pair of scissors and an iron.
This post will talk you through the steps to make your own continuous bias binding. This is a great method for making a lot of binding all in one go. For example, if you’re making ½ inch (12mm) double fold bias binding, you’ll get around 5 yards (4.5m) of binding from one fat quarter.
You will need:
a fat quarter of your preferred quilting weight cotton
a ruler
a marking tool of your choice (tailors chalk, heat erasable pen, etc…)
a pair of sharp scissors
an iron
some other items are referred to through the guide, but these listed here are the essentials.
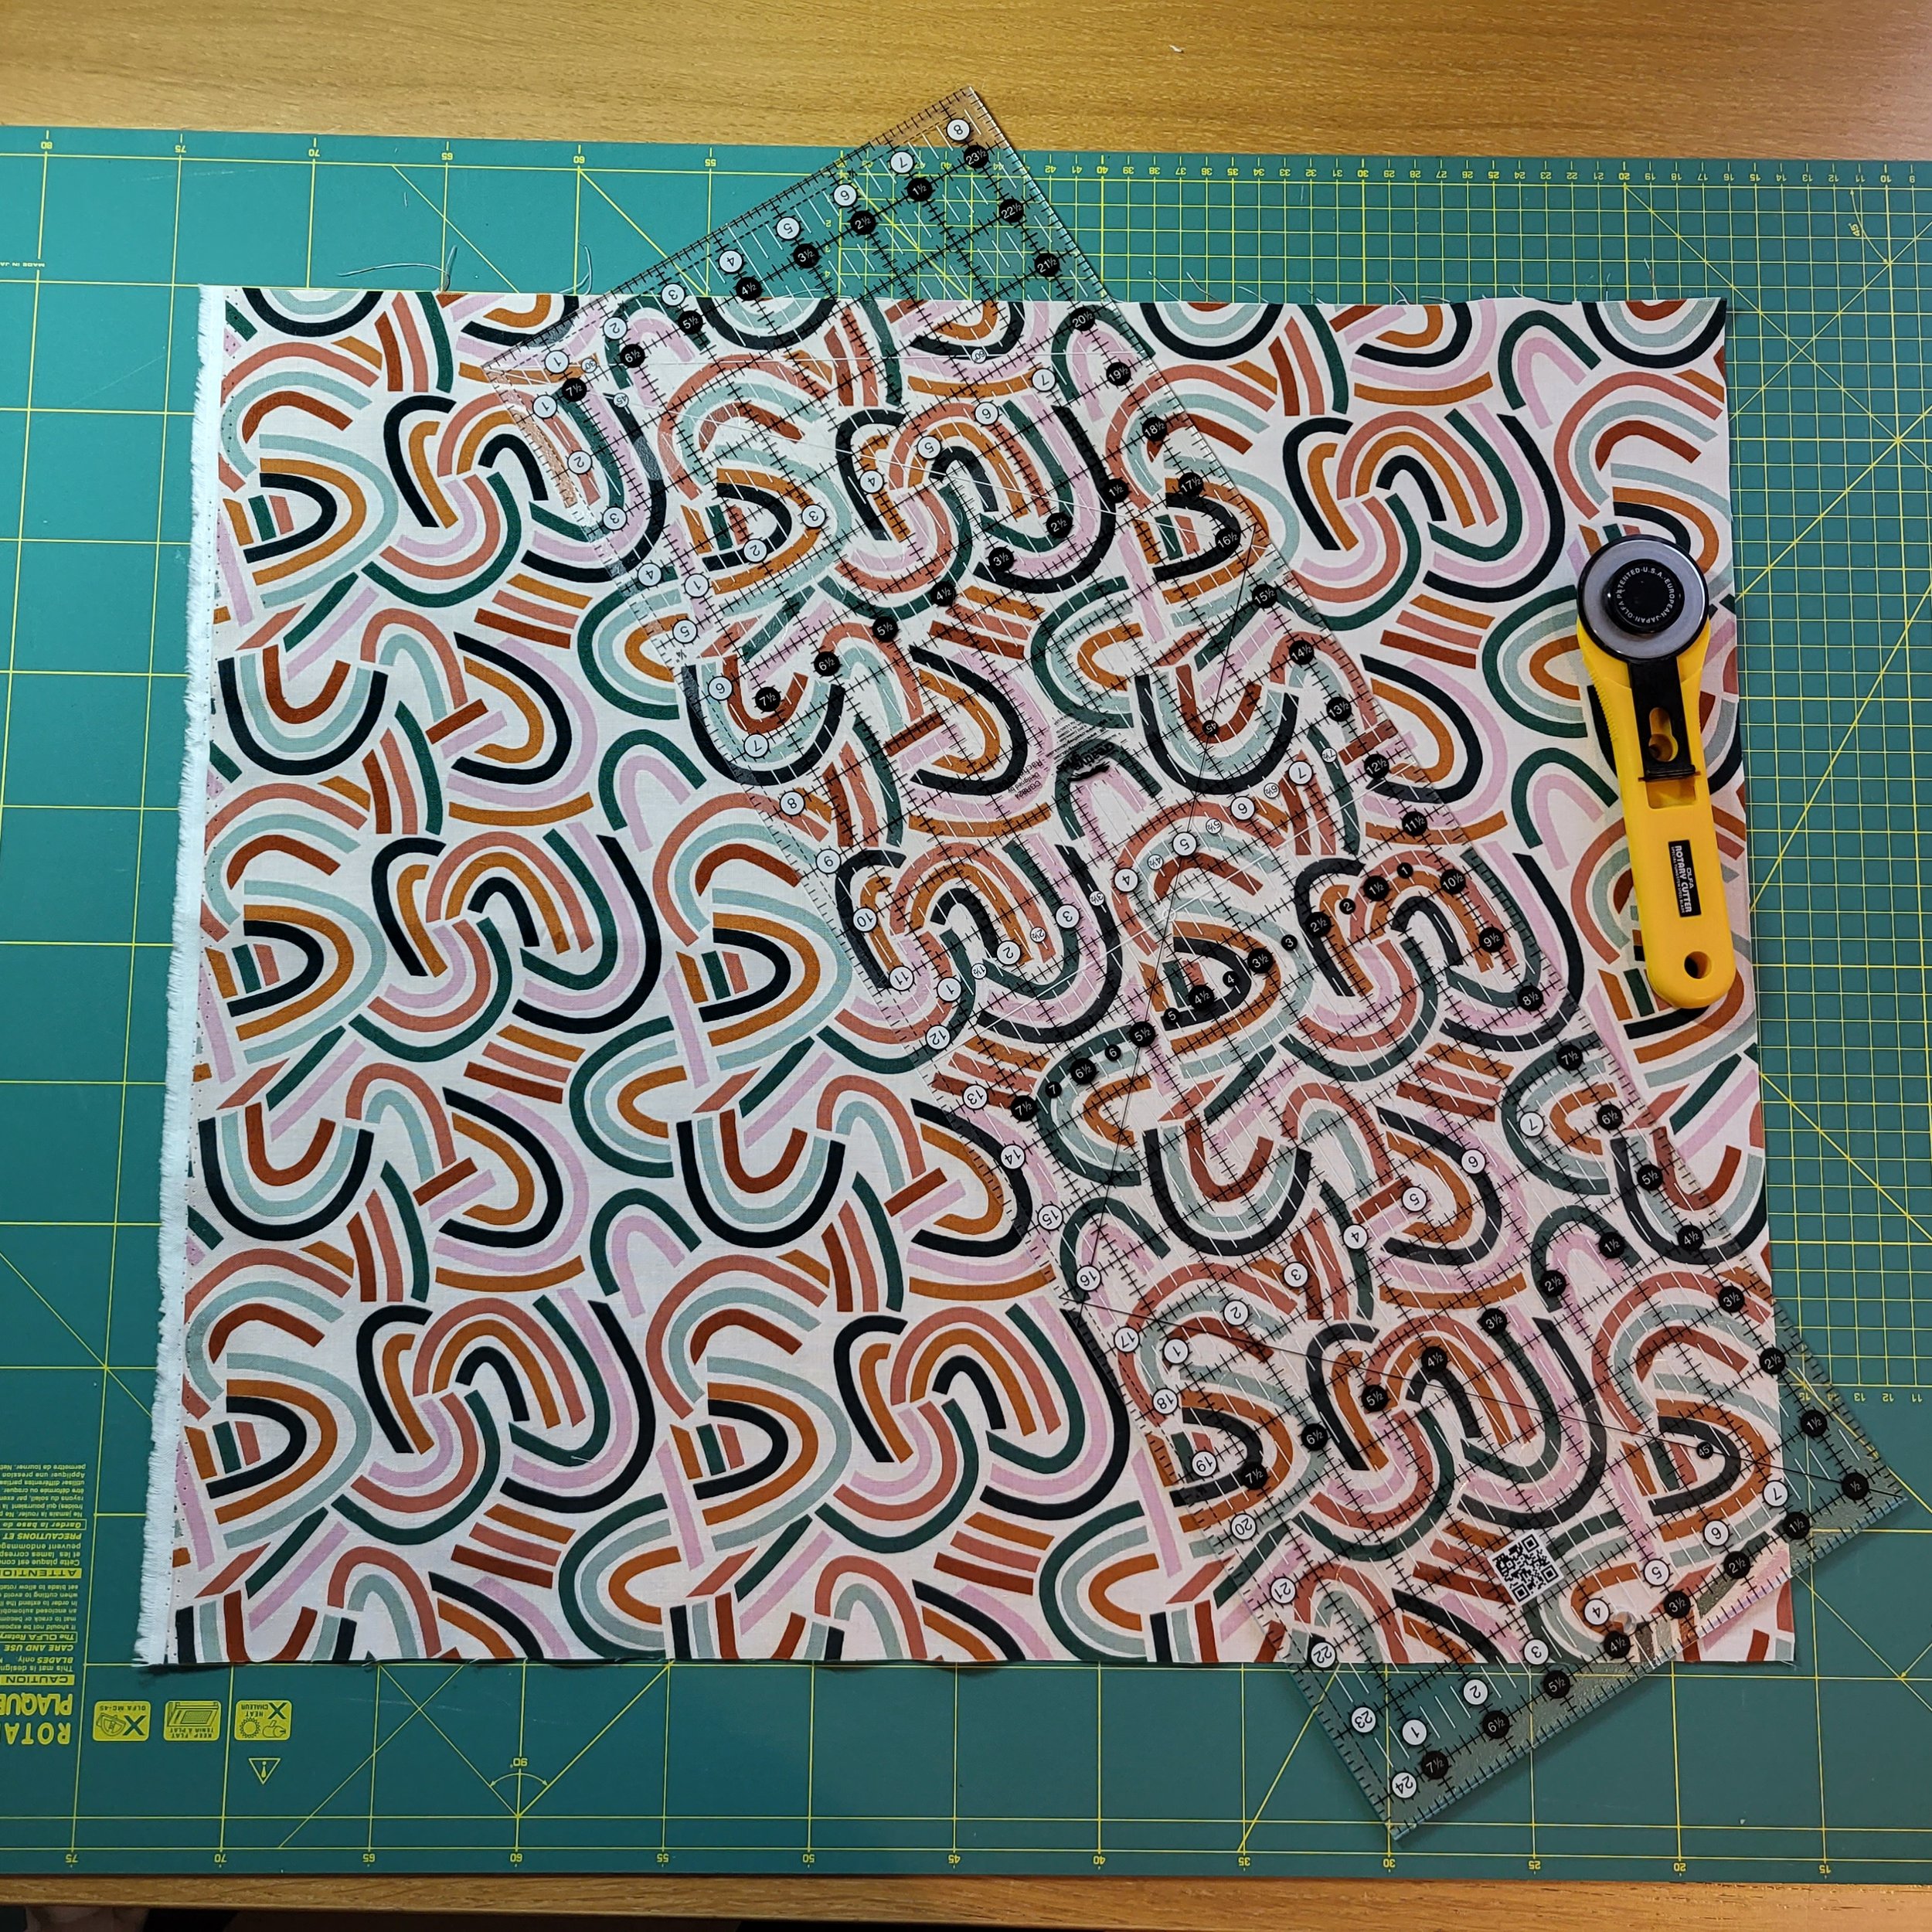
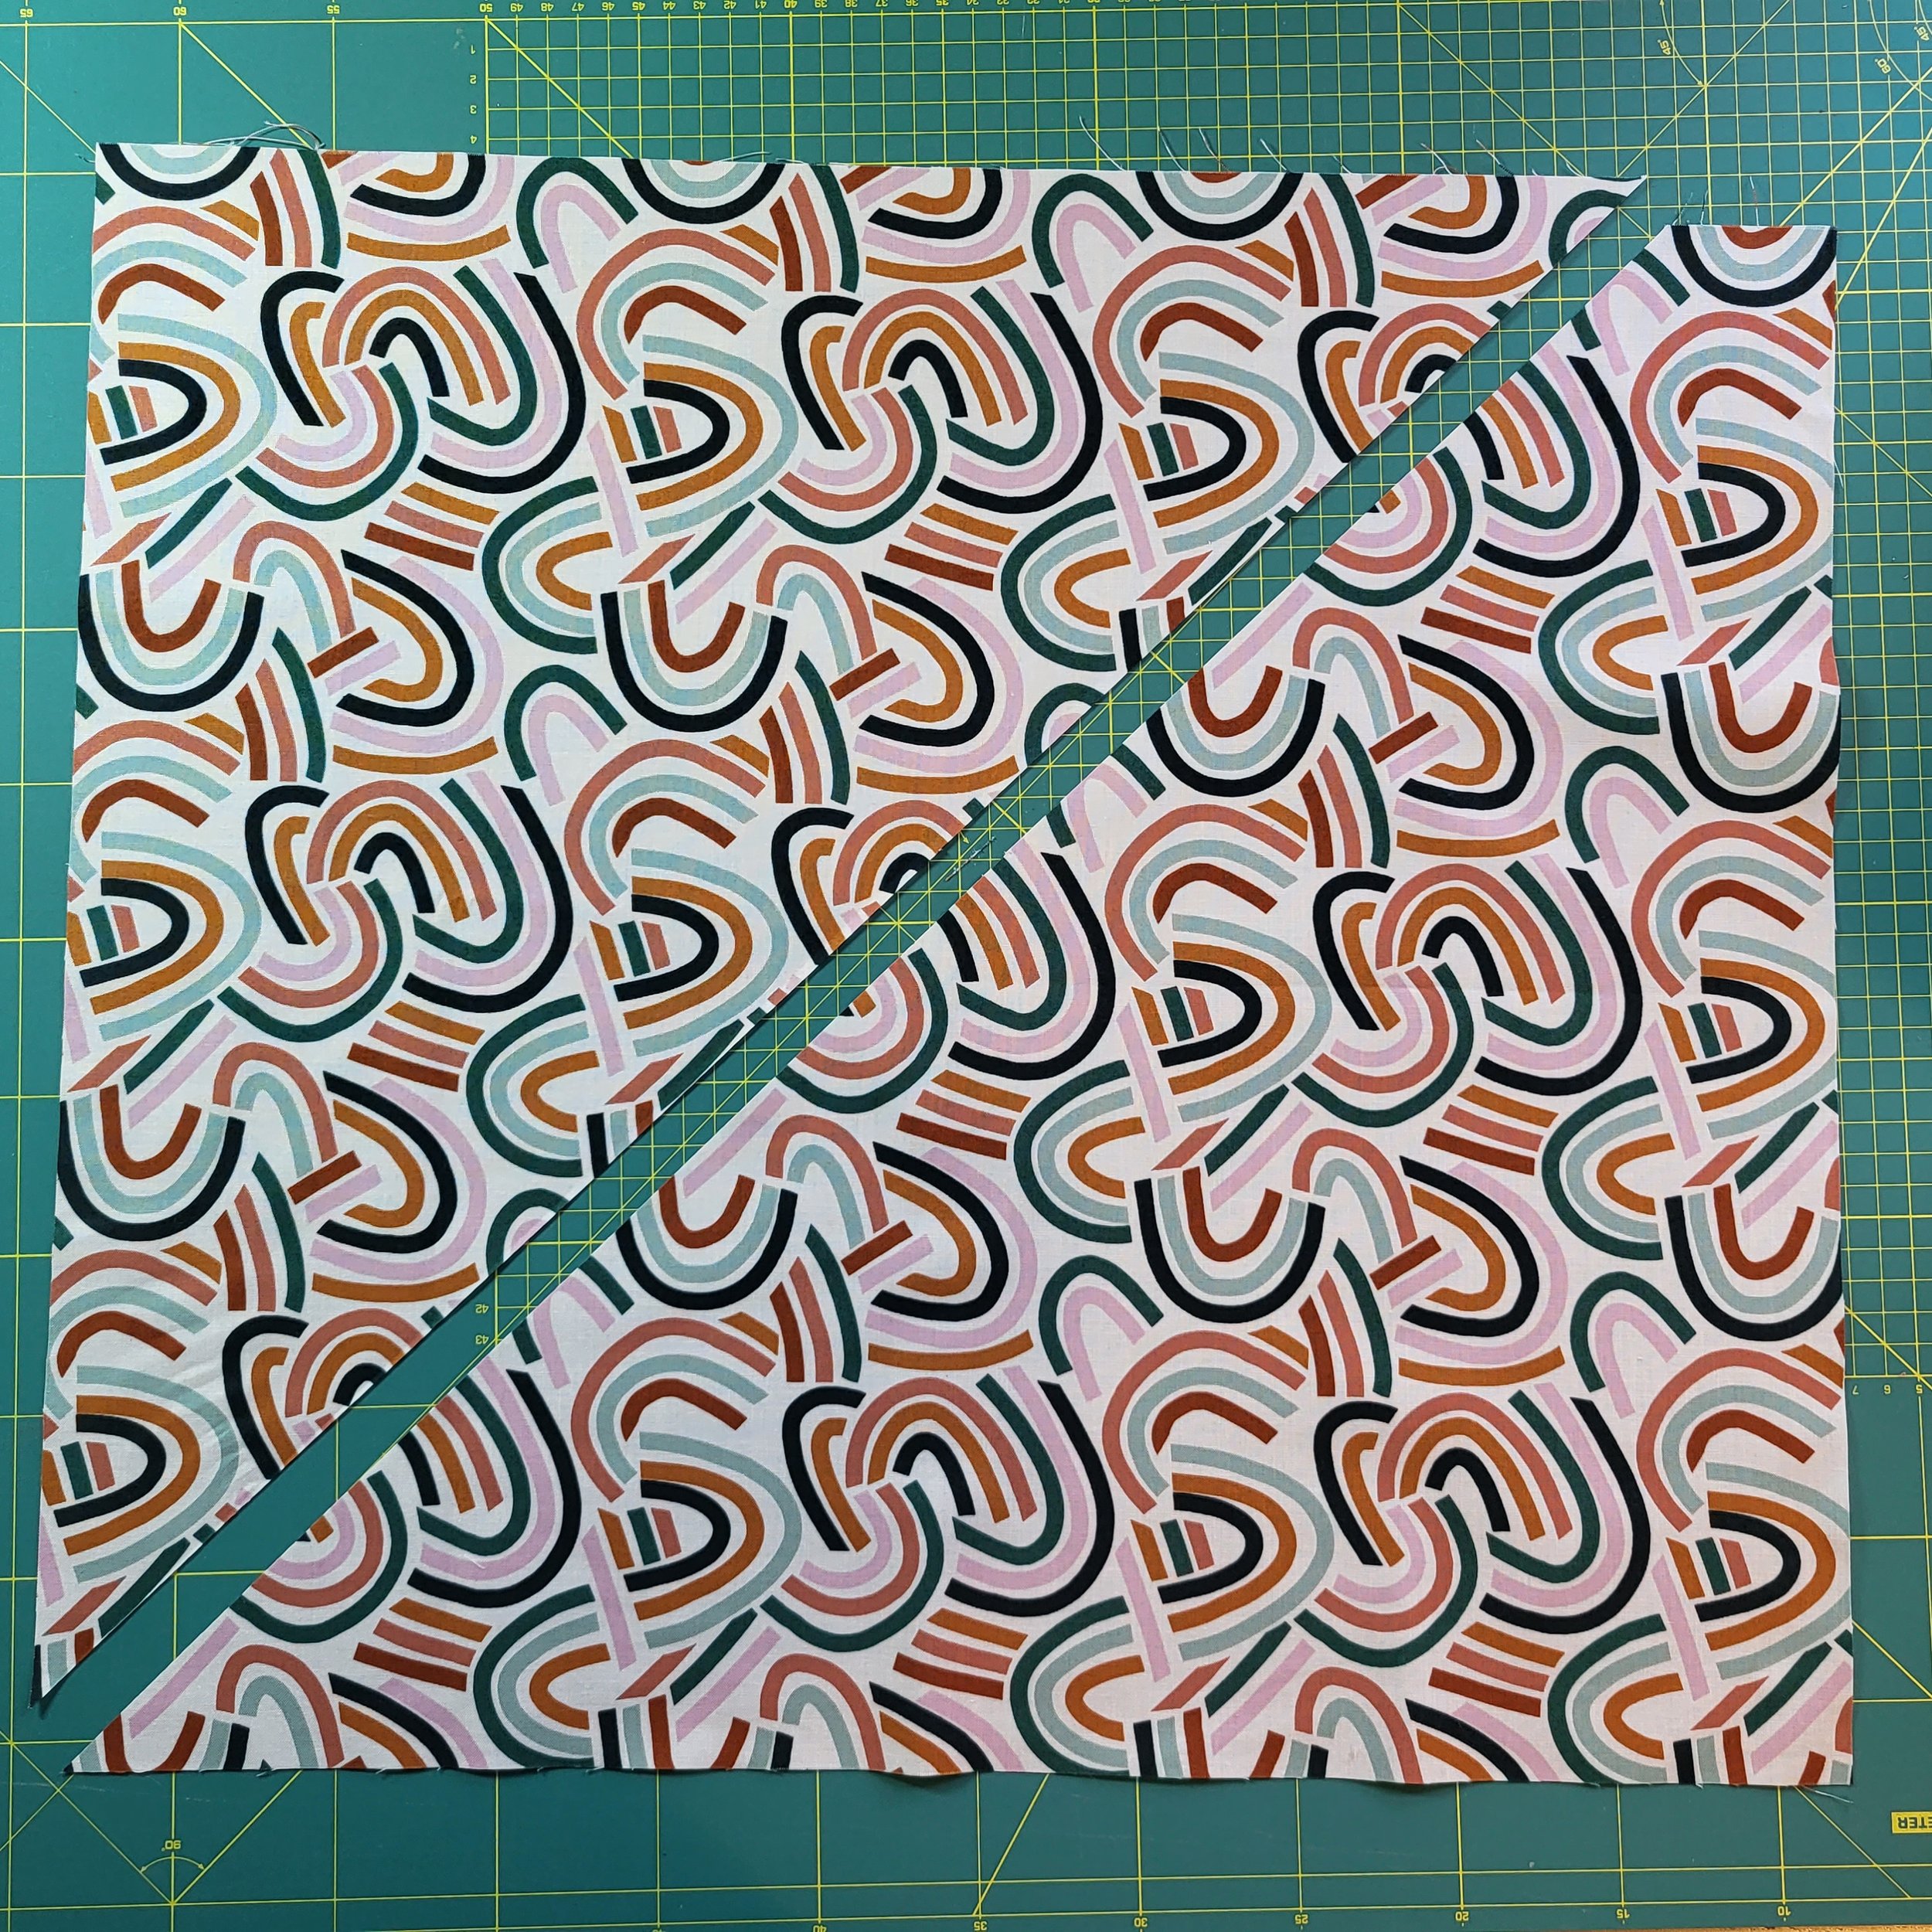
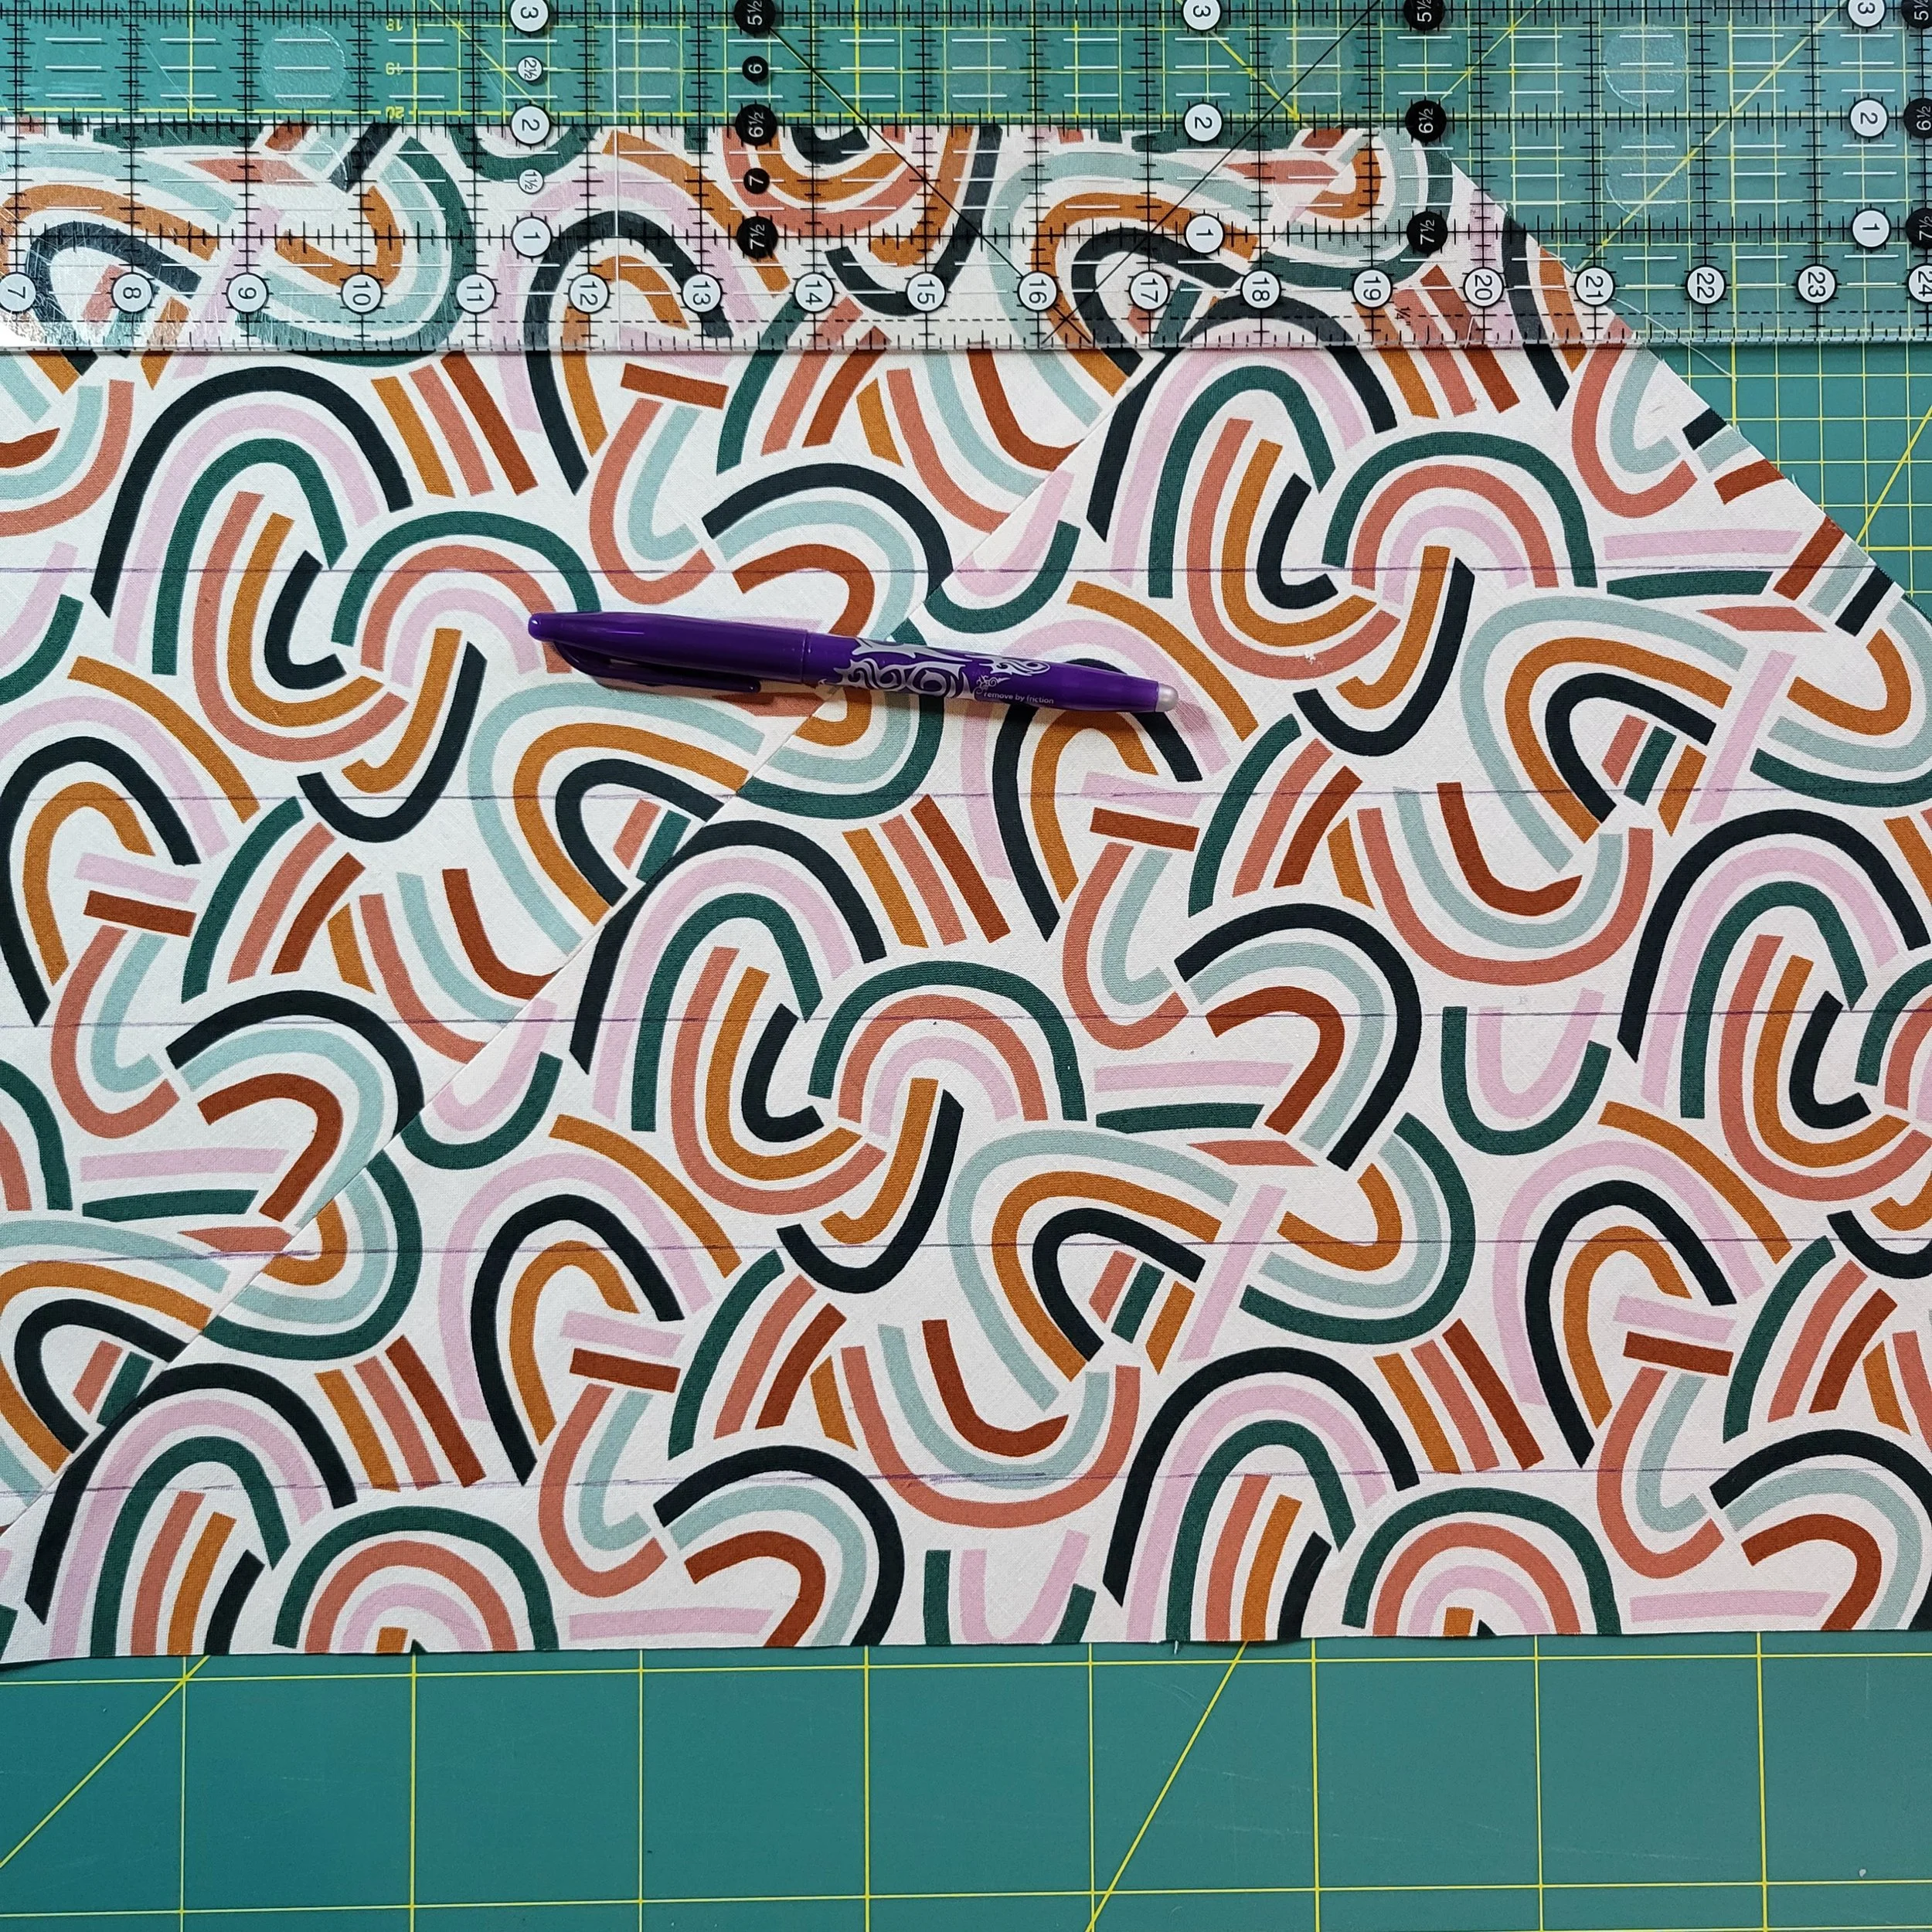
Using your fat quarter, mark and cut a 45˚ line. This is your first bias cut so be careful not to stretch this new raw edge.
You may find it easier to square off your fat quarter before you make the first cut.
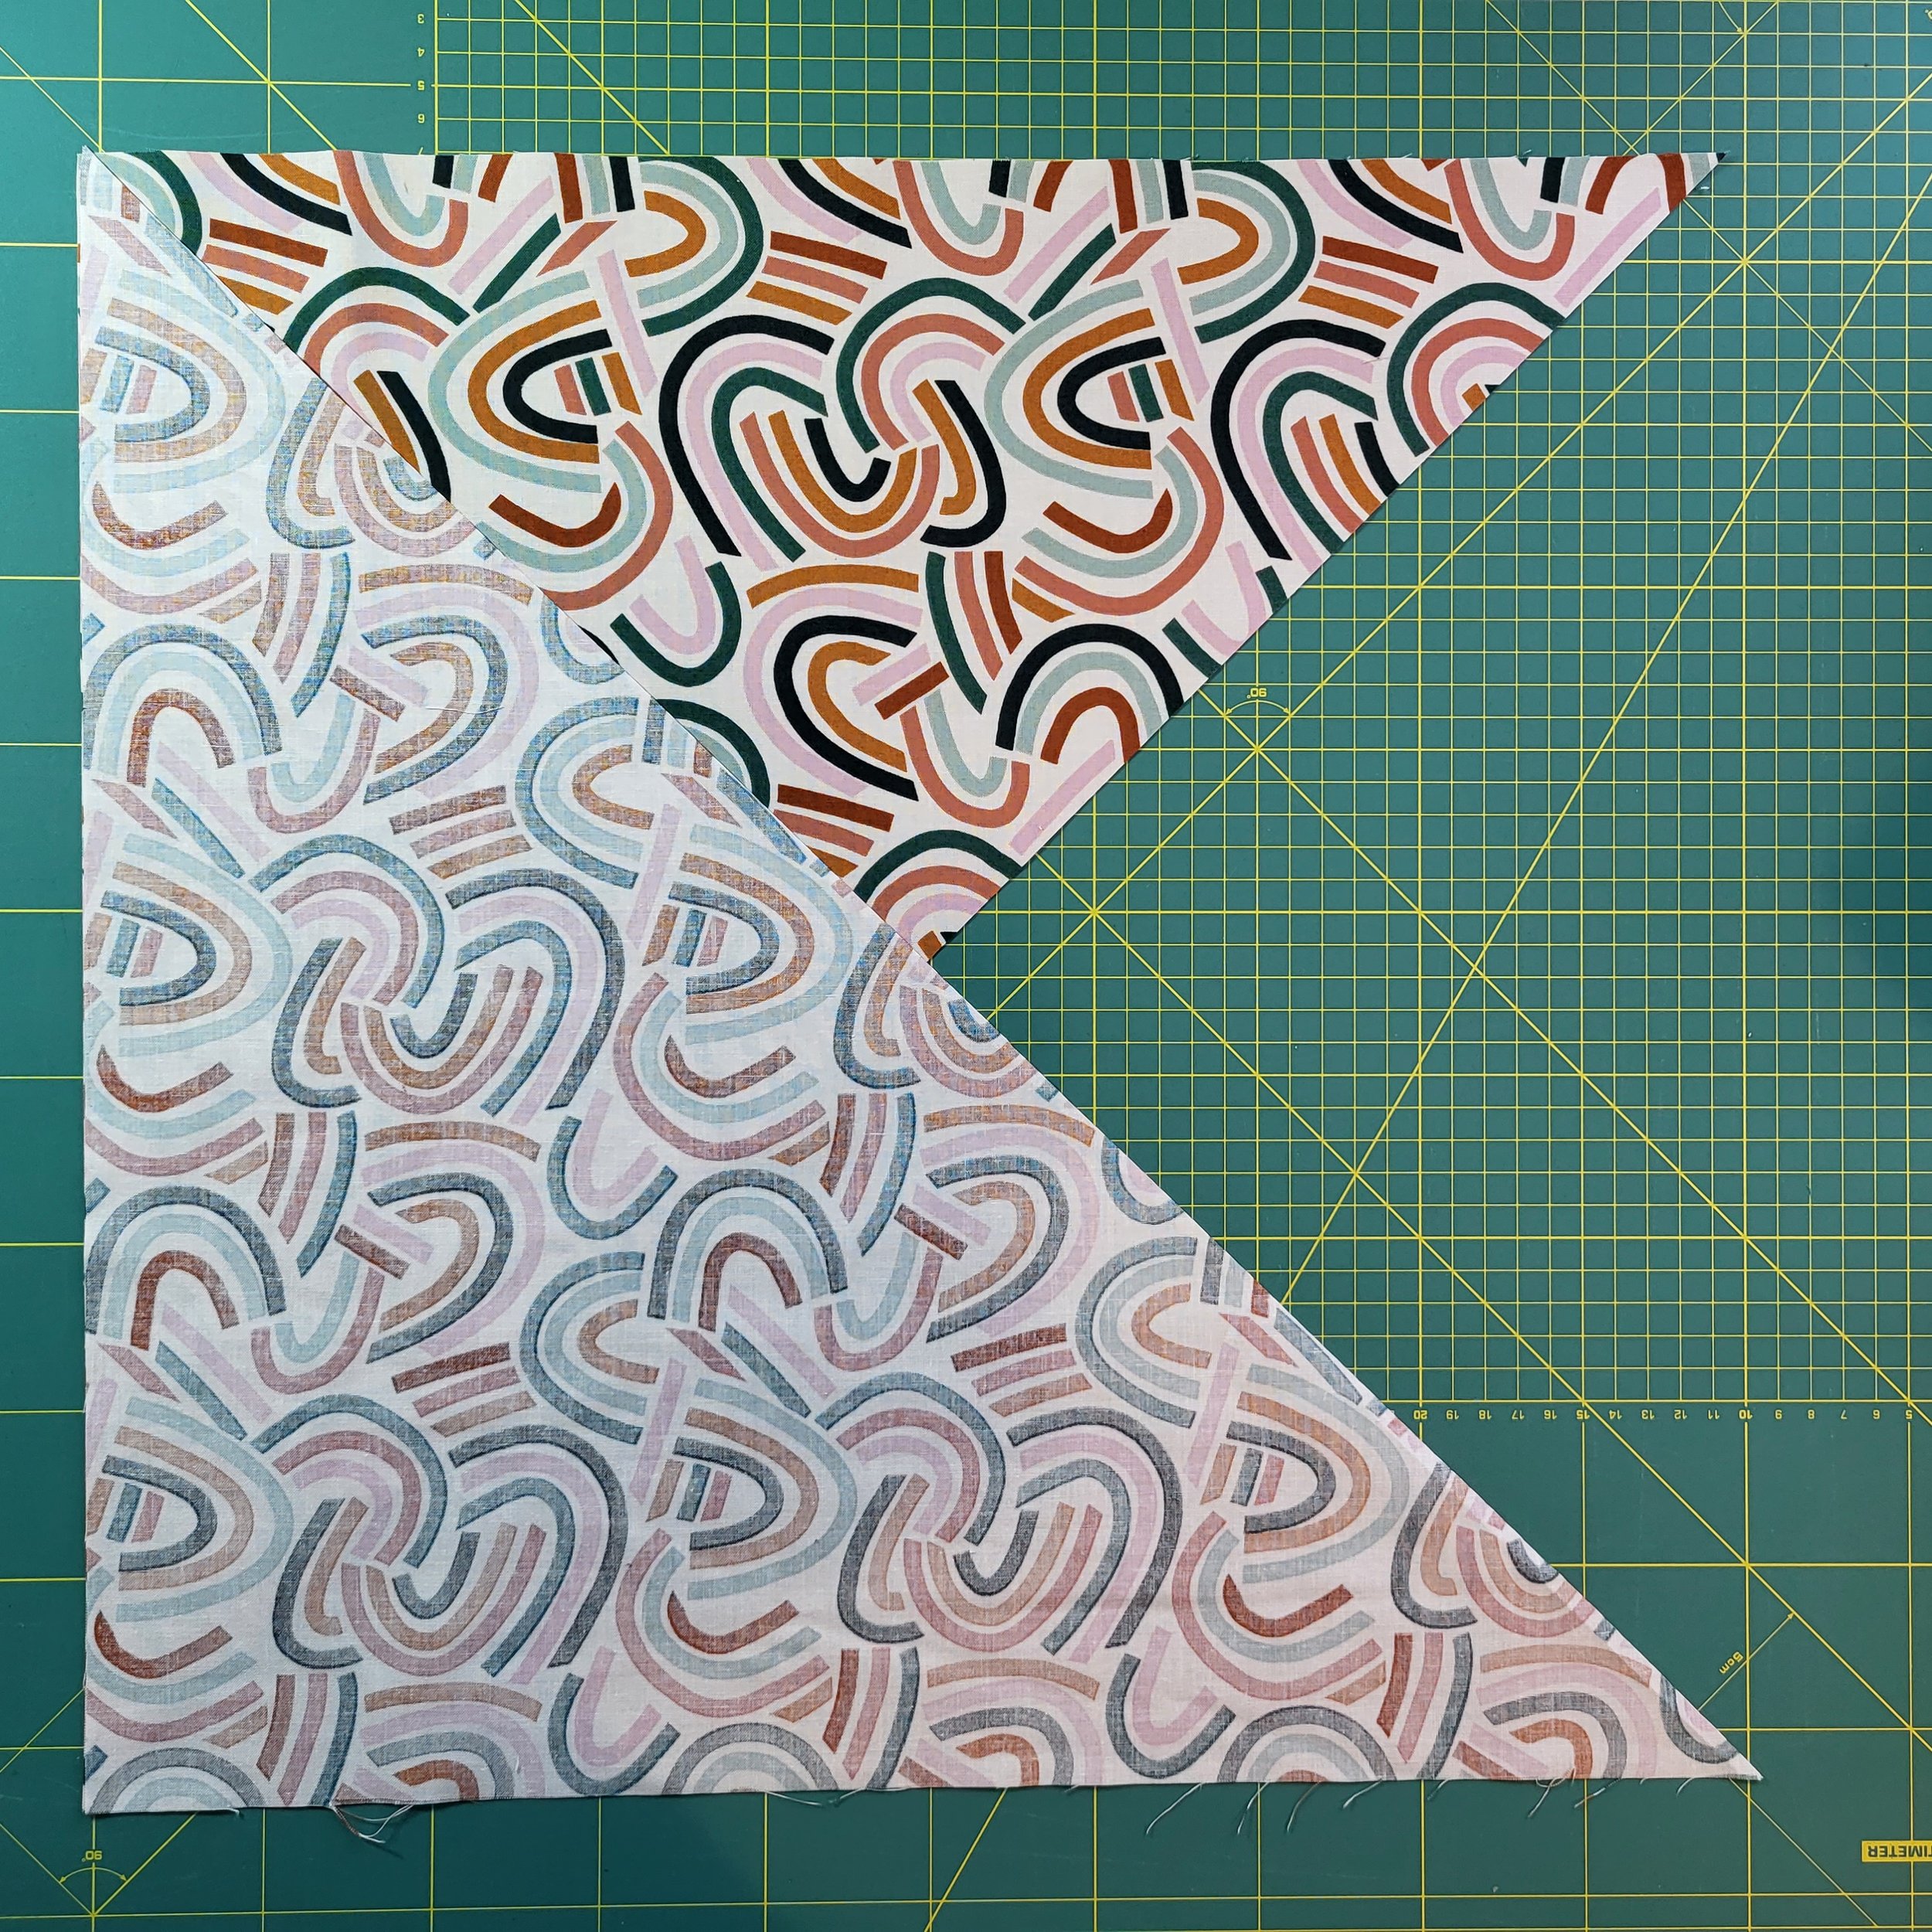
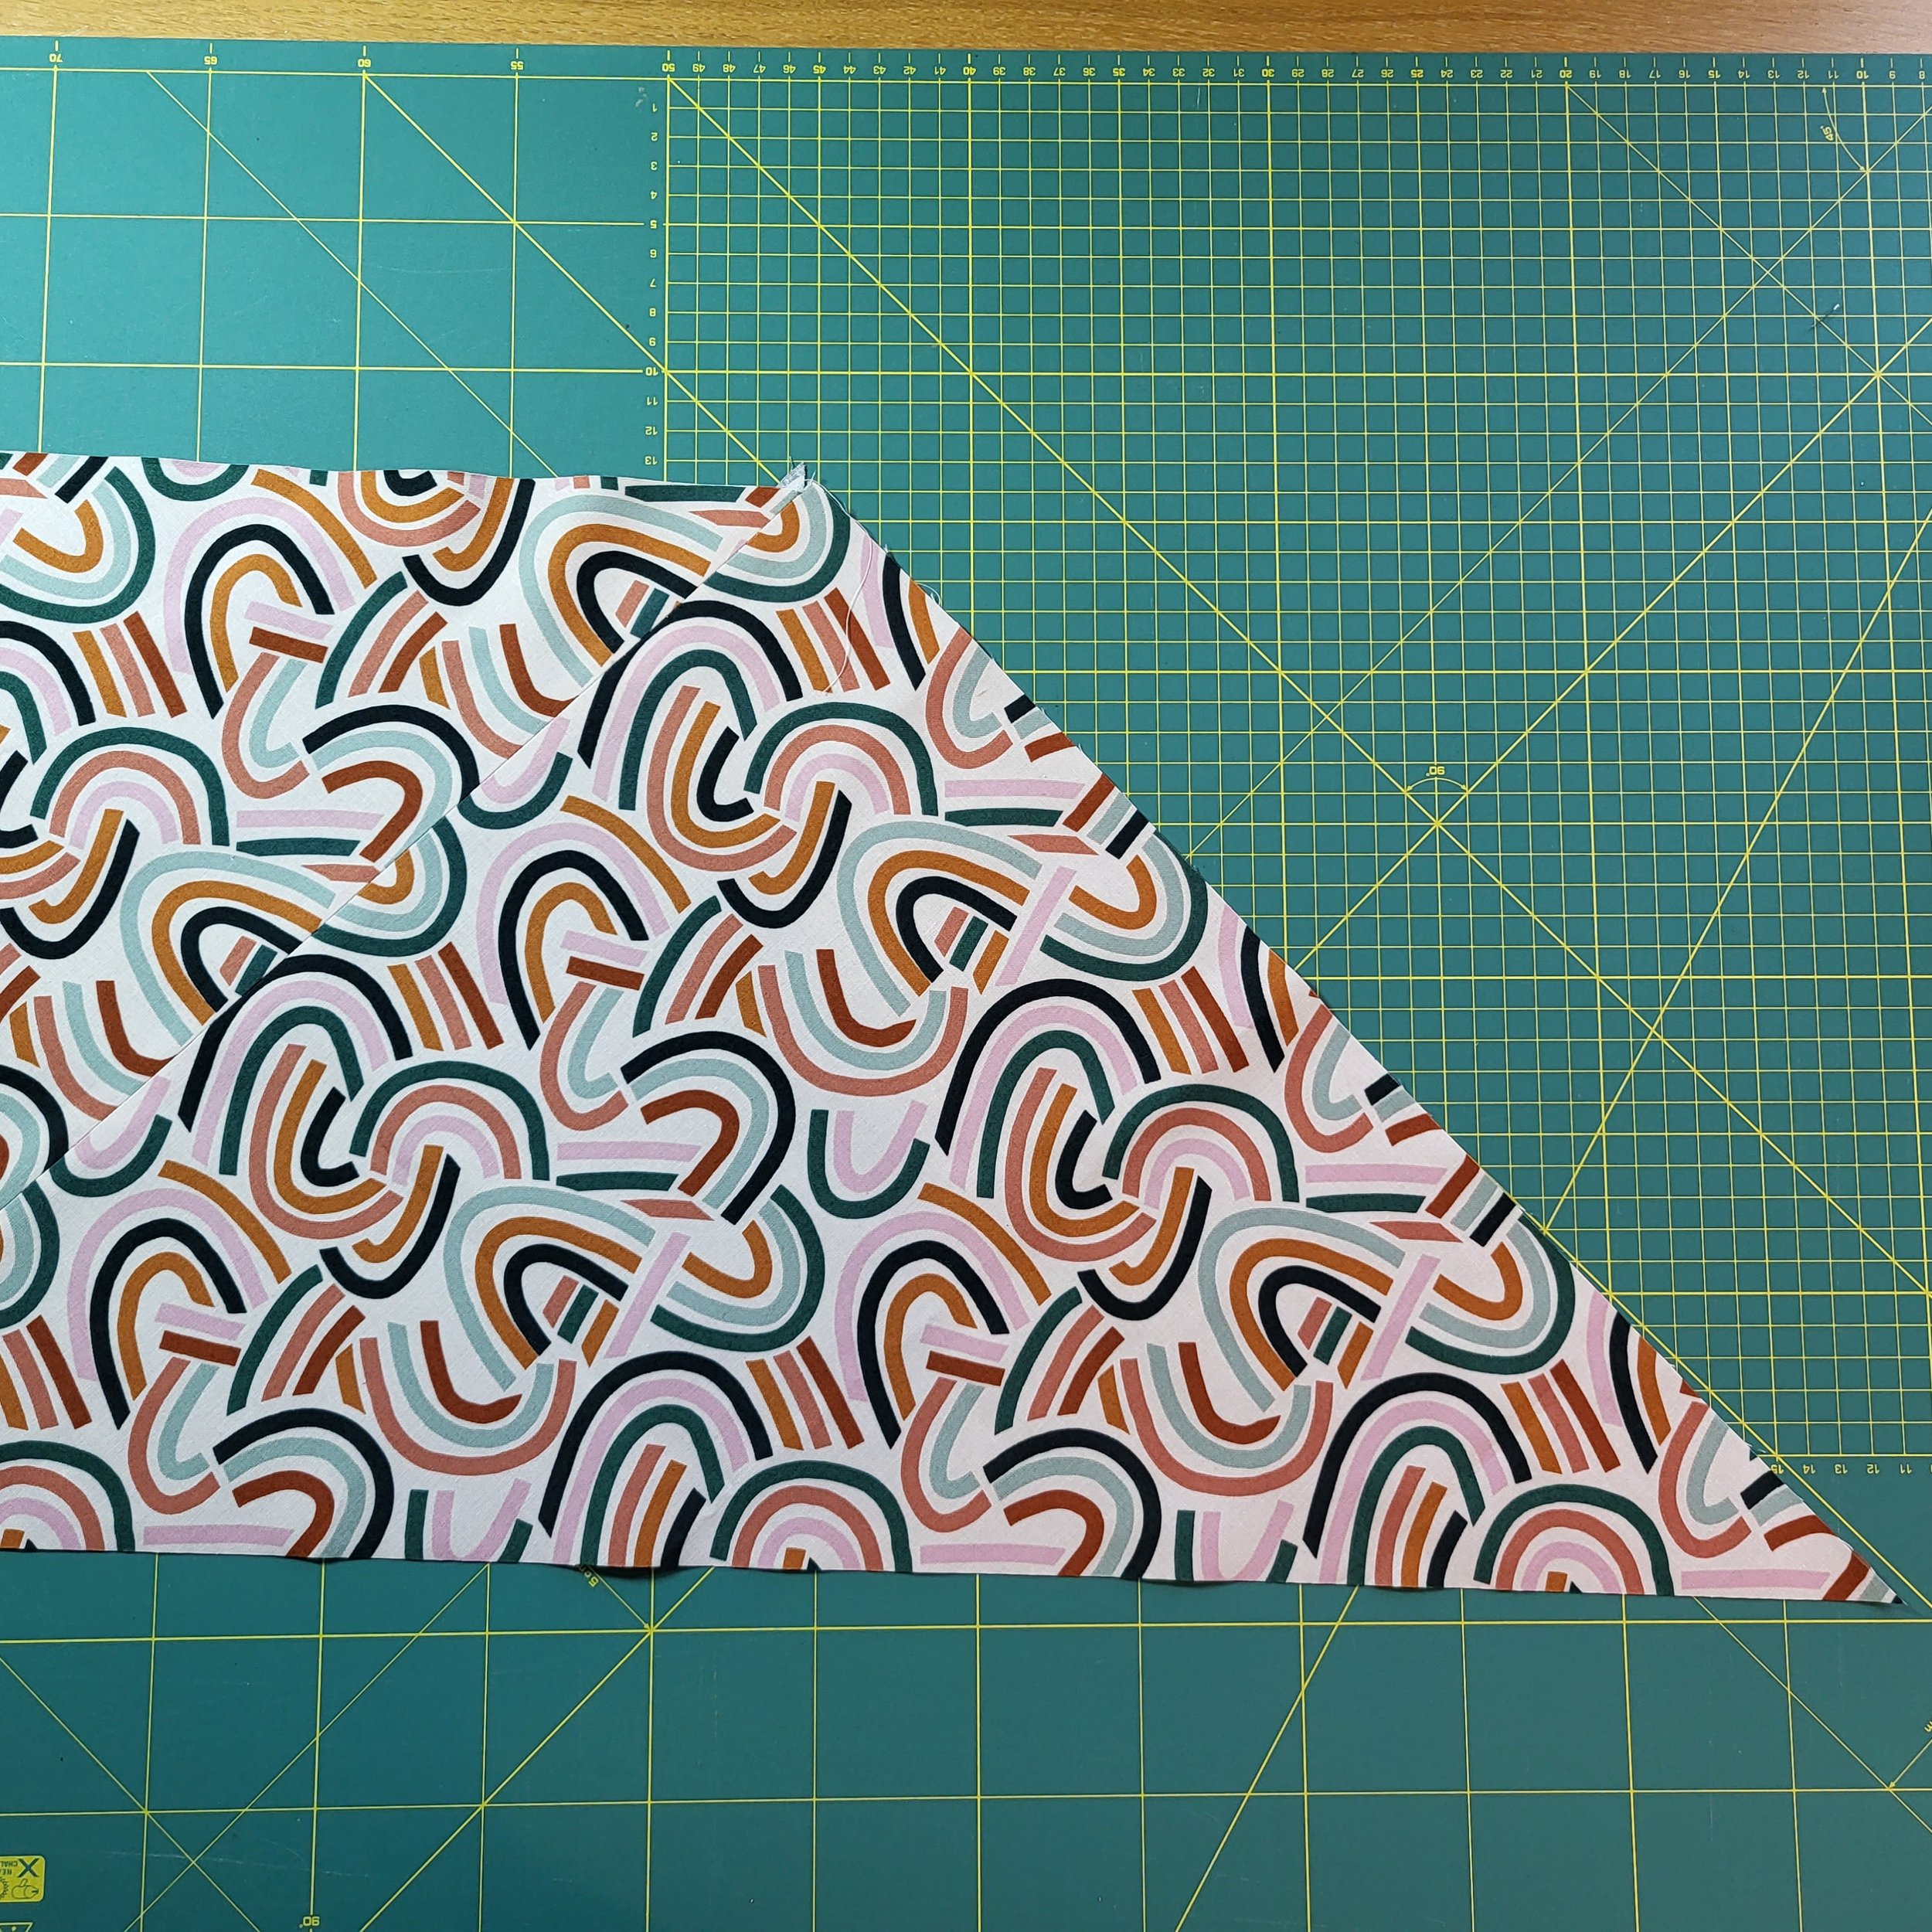
Next, you’re going to take your two triangular pieces and put two non-bias raw edges together as shown in the photograph here. You’ll be placing these two pieces of fabric right sides together. Pin and sew this seam using a ¼ inch seam allowance. Then press the seam open.
Now you will have a parallelogram.
The next step is to start marking your fabric with strips at your desired width. I’m making ½ inch double fold bias binding, so my markings will be 2 inches apart. For double fold bias binding, whatever width you need to end with, multiply it by 4. For example, if you wanted to end up with 5/8 inch double folded bias binding, you would mark strips at 2 ½ inches wide at this point.
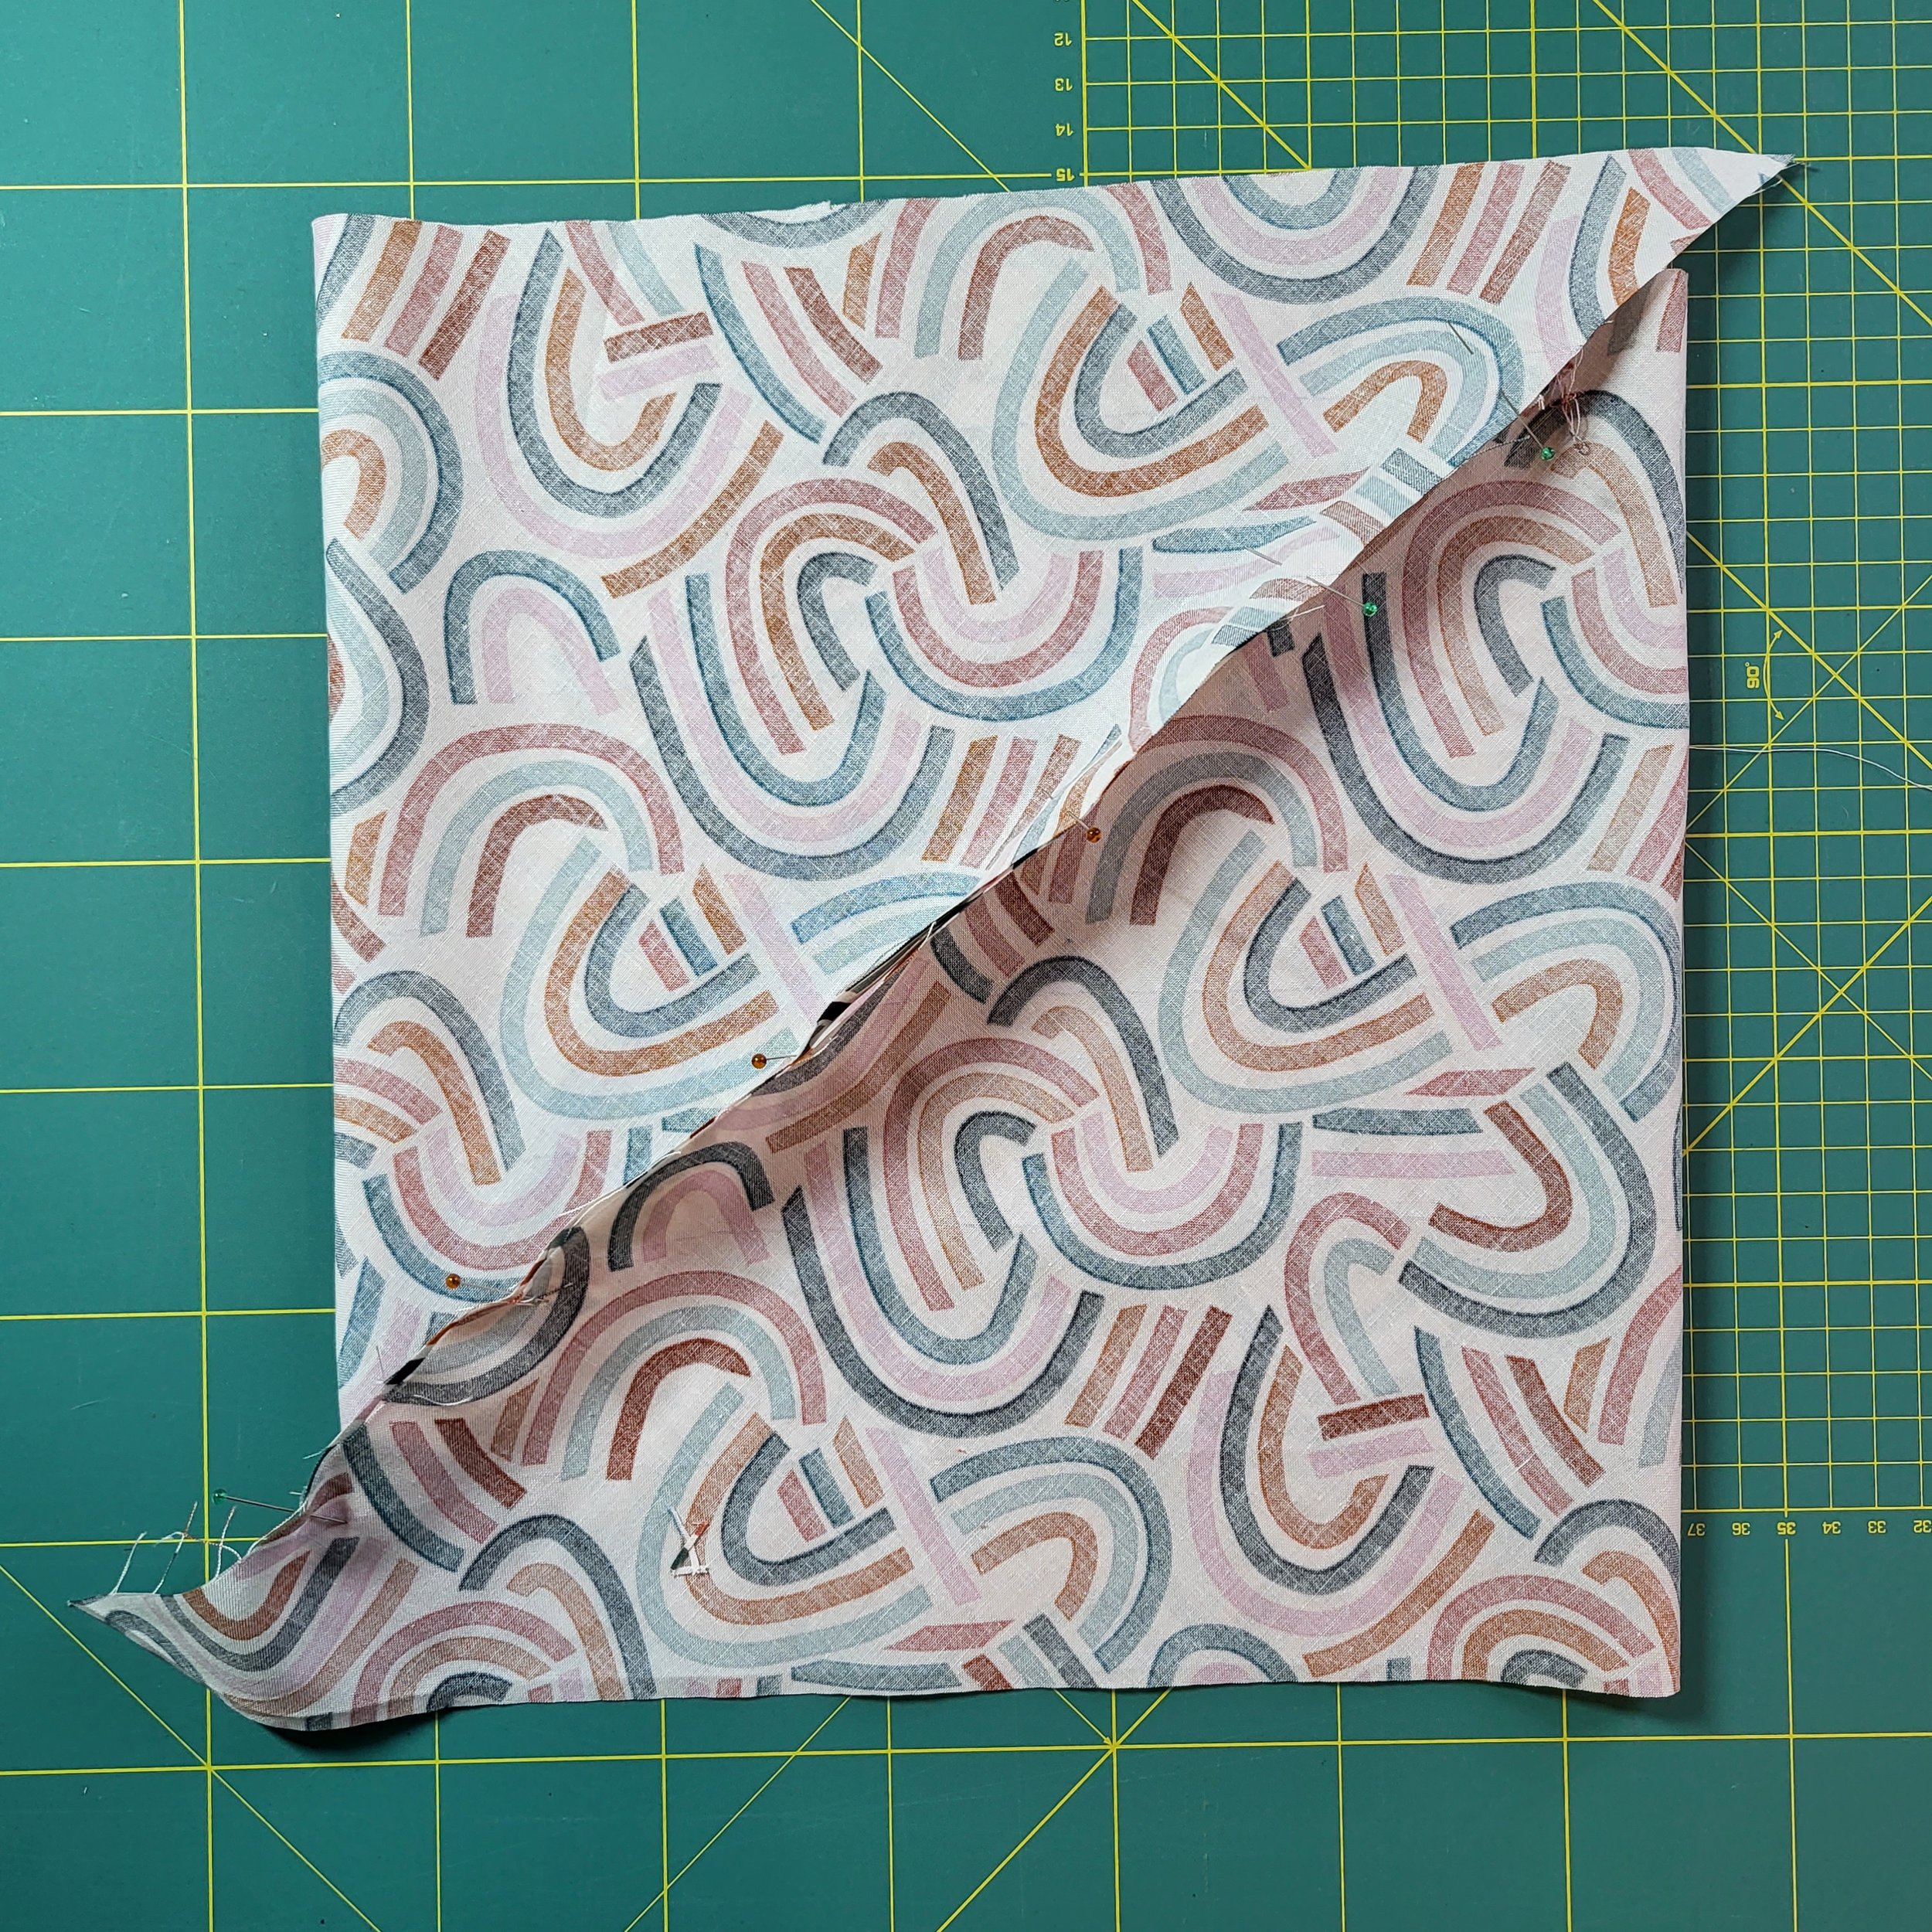
With the lines marked, you will now join the second seam. This will be your bias edges, so be careful not to stretch anything at this point.
To allow for cutting a continuous strip, you need to offset this seam, so the first line you have drawn will match up with the cut edge. You’ll see in the phot below that one cut edge extends the width of one strip beyond the other. The following lines should all match up with another marked line.
Top top – Consider your stitching line and not your raw edge when matching up your strips. If you pop a pin in on the marked line at a ¼ inch, and then put the same pin through the corresponding line also at a ¼ inch then you’ll find that this lines should match up when sewn.
Once everything is pinned in place, sew your seam using a 1.4 inch seam allowance. Press the seam open. As you now have a tube of fabric, pressing can feel a bit awkward. You may could a pressing ham, or ever a rolled up towel to help access the seam. (If you’ve used a heat erasable pen, be careful not to erase your marked lines at this point!!!)
With the seams pressed open, it’s time to cut the strip. Starting at one edge, using a pair of sharp scissors, cut along the marked line. You’ll find that the line keeps circling around and around the tube, until you reach the other end.

You have successfully cut a continuous strip of bias binding.
The final stage is to press the strip so that it is more manageable when you come to use it.
You can do this with your iron, and press under the long raw edges by ¼ of your total width. In my case, I’ll be pressing under ½ inch to the wrong side.
With both raw edges pressed under, you can then press the strip in half, and you’ll have your double fold bias binding.
If you have a bias binding tool, you can feed your strip through the tool, with the right side of the fabric facing up. As you pull it through the other end, press the fabric. This will create a ingle fold bias binding, and again you can then press in half to create your double fold.
Be careful with this method because often the tools are metal, and you’re using a hot iron next to it. If you get too close, this can heat up the metal and burn your fingers.
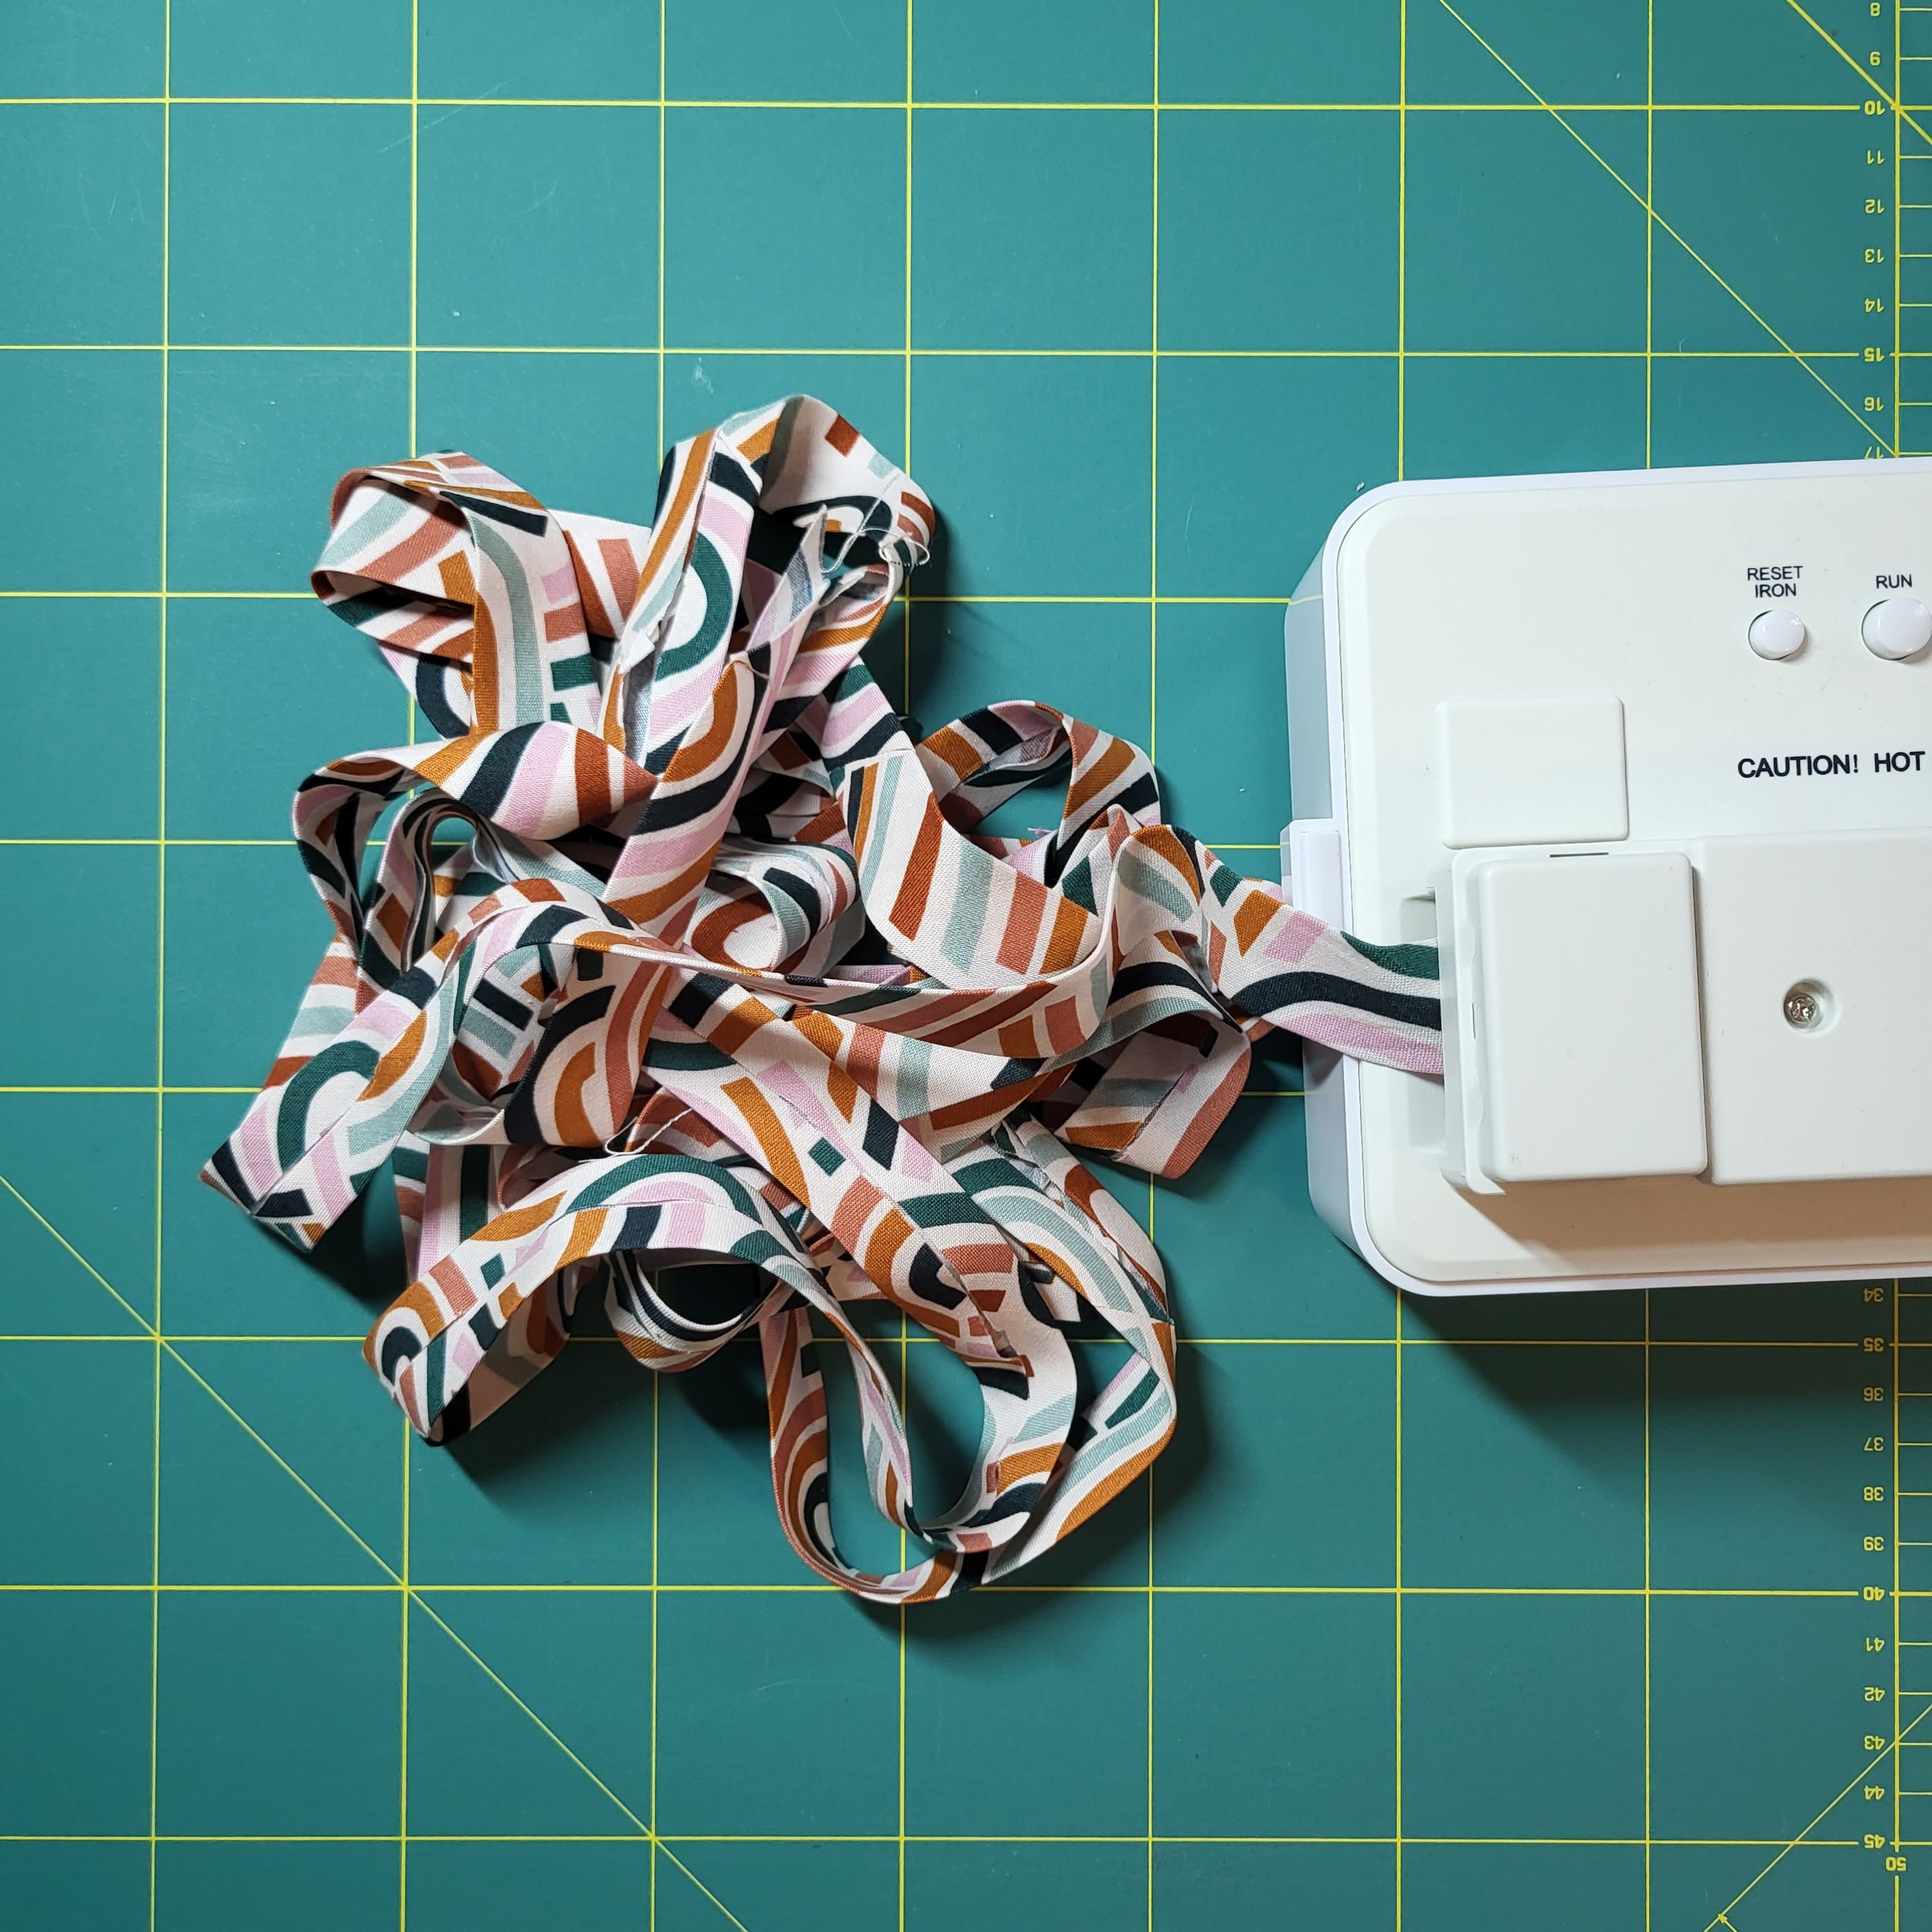
If you’ve got a snazzy electric bias binding maker, you can feed your fabric through the head, press go. Keep an eye on seams, as they can sometimes stick a little as they pass through. A gentle tug (making sure not to tug too hard and stretch the bias!) can get things moving again.
The final step is to roll your new bias binding around something to keep it safe and secure until you’re ready to use it.
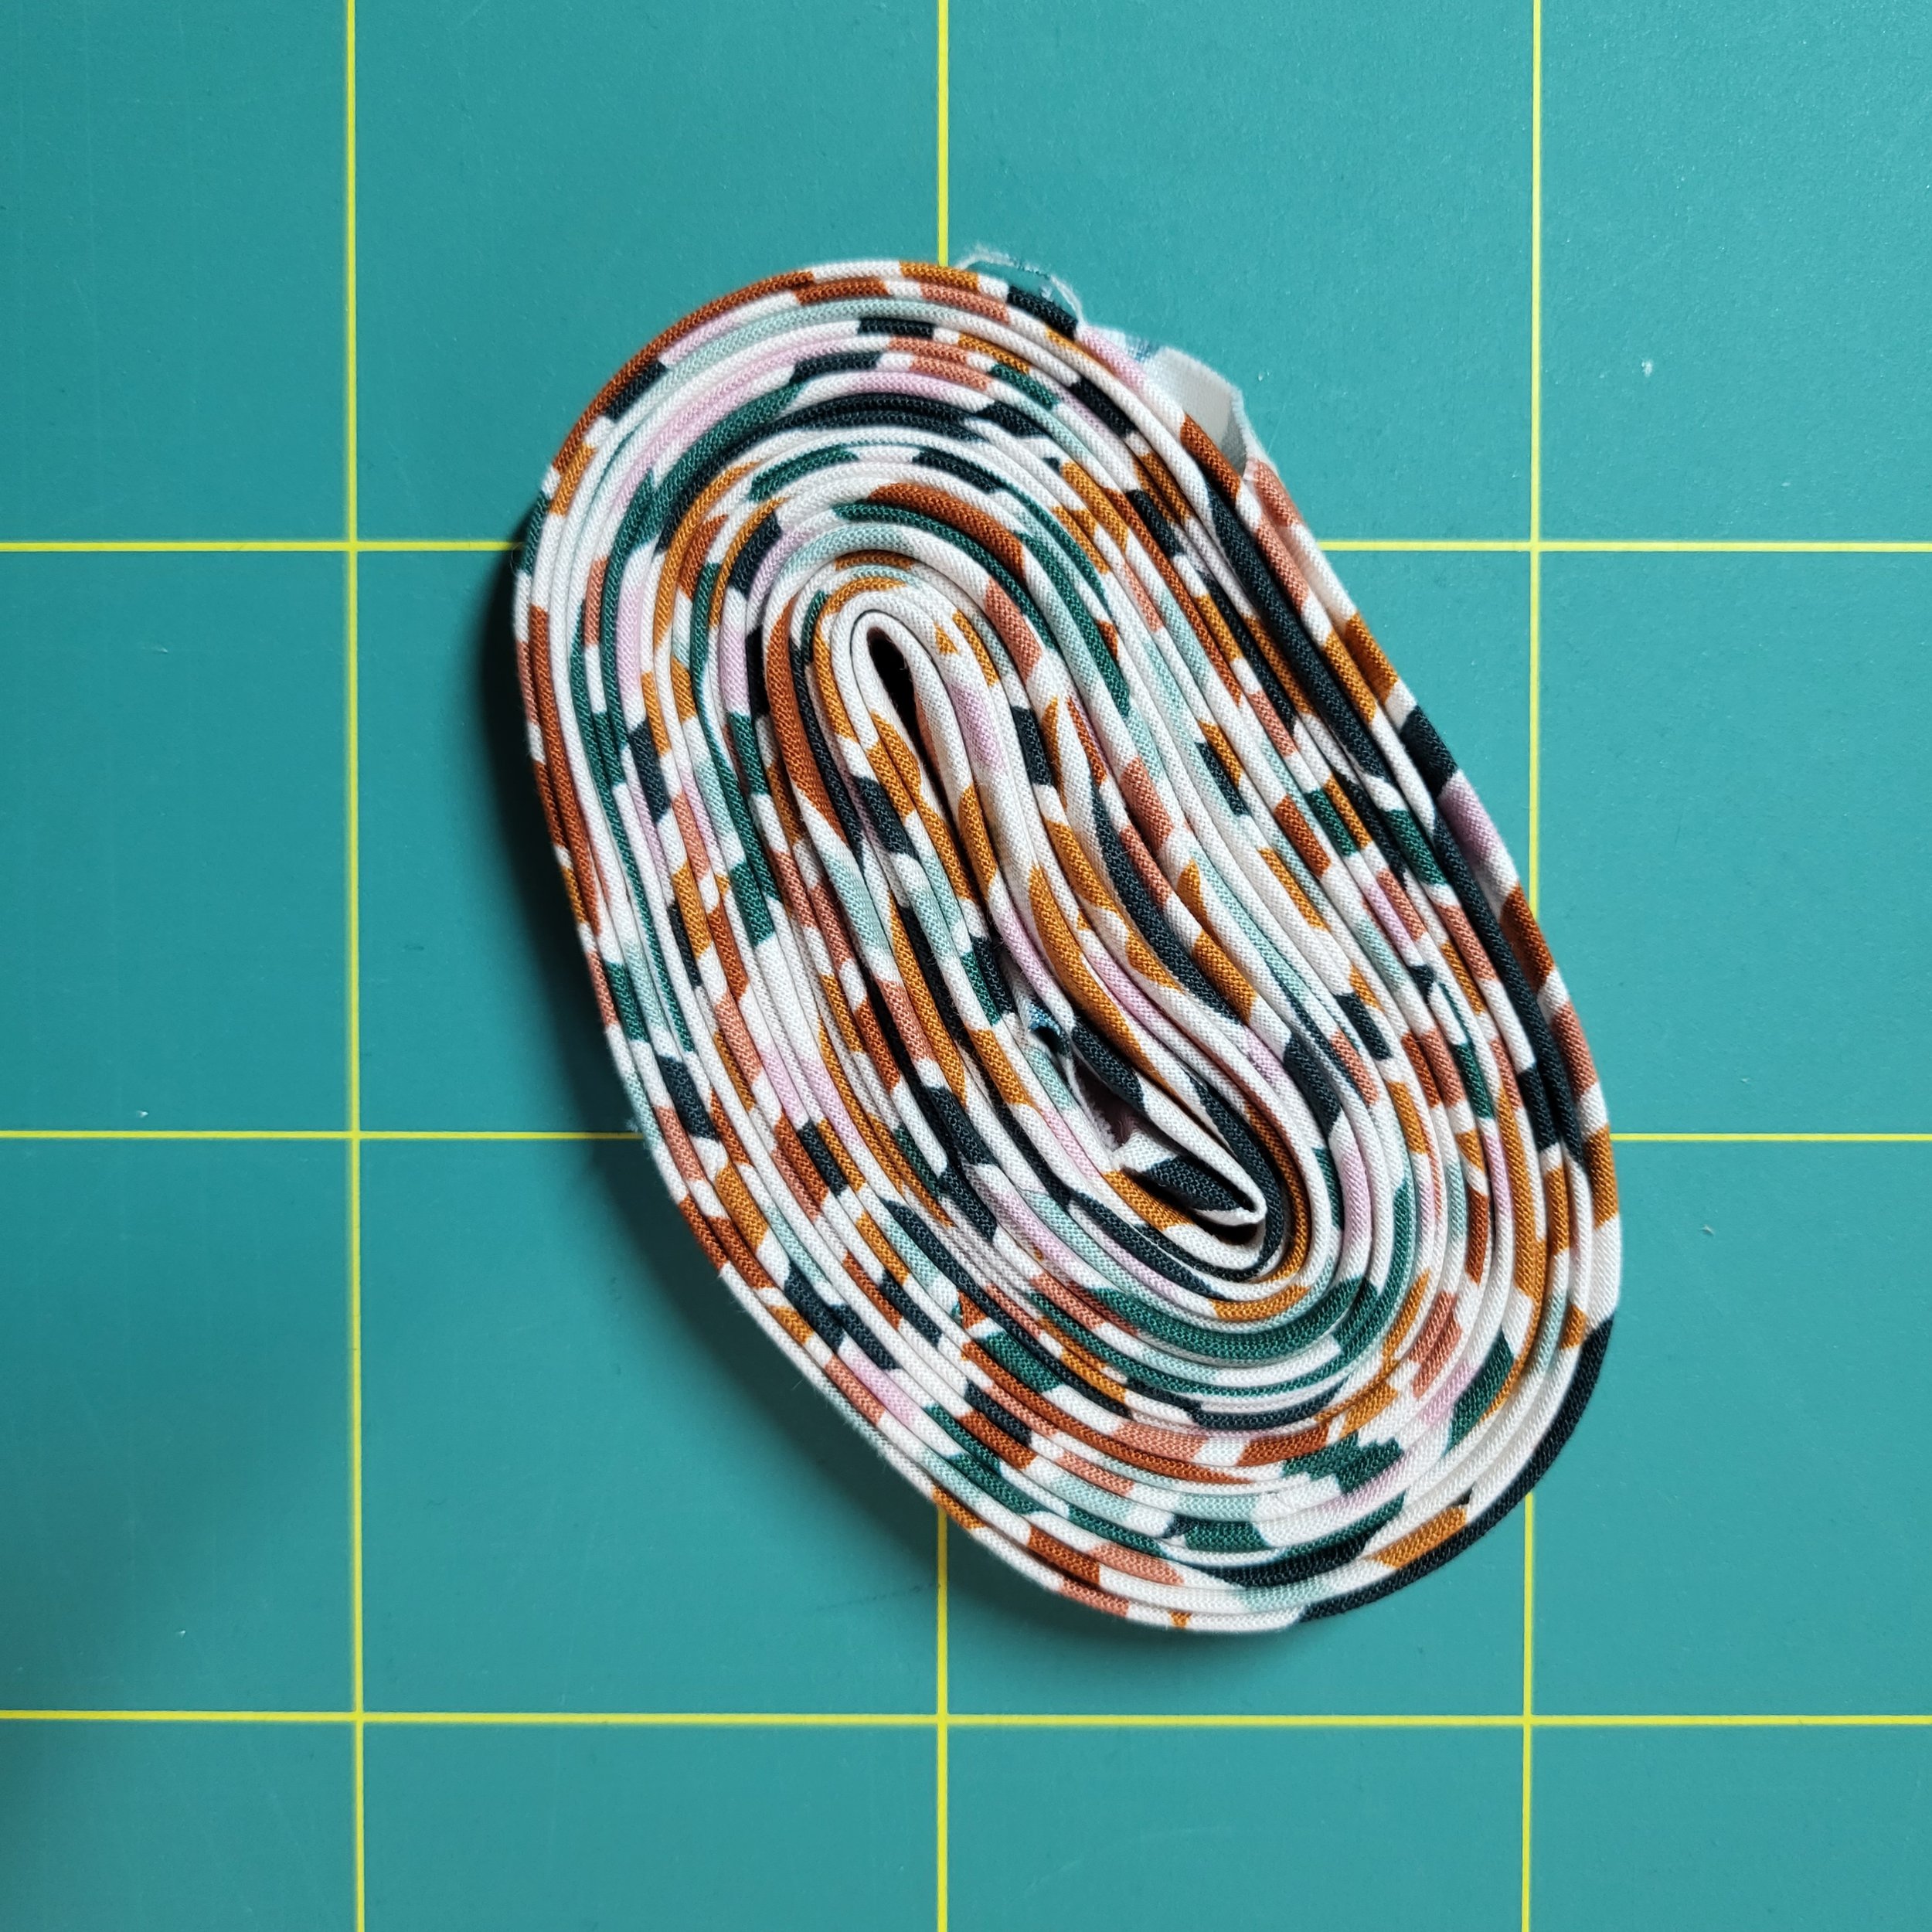
Happy bag making!